The Wi-Fi in my house is pretty bad, even though it’s my own fault.
Nearly a year ago, my family and I moved into a new home.
In my home office (which is where I work from), we put in soundproofing insulation as part of the build-out process. (My wife and I have three boys, and so I need as much defense against the ruckus as possible.)
The soundproofing does do a pretty good job at keeping the sound out. But, alas, it does a good job at keeping the Wi-Fi signal in. Because, of course, the spot for our router is downstairs in the far corner of my home office.
All this to say, there were many spots in our home where the Wi-Fi was just pathetic. More often than not my wife and I would turn off the Wi-Fi on our phones and switch to LTE.
During this past Thanksgiving my wife’s entire family came out from Colorado to stay with us. We had 8 adults and 7 kids and the Wi-Fi network couldn’t handle it.
And it was especially frustrating because we have Google Fiber.
My iMac, which is plugged in directly to the router, gets roughly 950Mbps up and down. Which is awesome. When my iPhone is here in the office and near the router it can get speeds of 400Mbps.
But as soon as you’d walk upstairs the speeds would drop drastically. And not only would the speed drop, so too would the quality of the signa — making the Wi-Fi upstairs spotty and unreliable.
In my garage, I couldn’t get signal at all. Which meant using an AirPlay speaker while woodworking wasn’t even an option.
Trying a Better Router
During all the Thanksgiving Black Friday sales, this Netgear Nighthawk router went on sale. It was the Wirecutter’s “step up pick” for routers, and is supposed to be just awesome.
I mean, just look at it. The thing has 3 giant antennas and it looks exactly like the sort of device that a computer nerd hacker would put on display.
But, honestly, its performance was average. Even with its beamforming technology and massive, high-power external antennas, there was no noticeable improvement to our home’s Wi-Fi signal. Sigh.
The eero
As if they knew I was frustrated, the folks at eero got in touch about 3 months ago.
And they were kind enough to send me a review unit of their 3-pack Home Wi-Fi System.
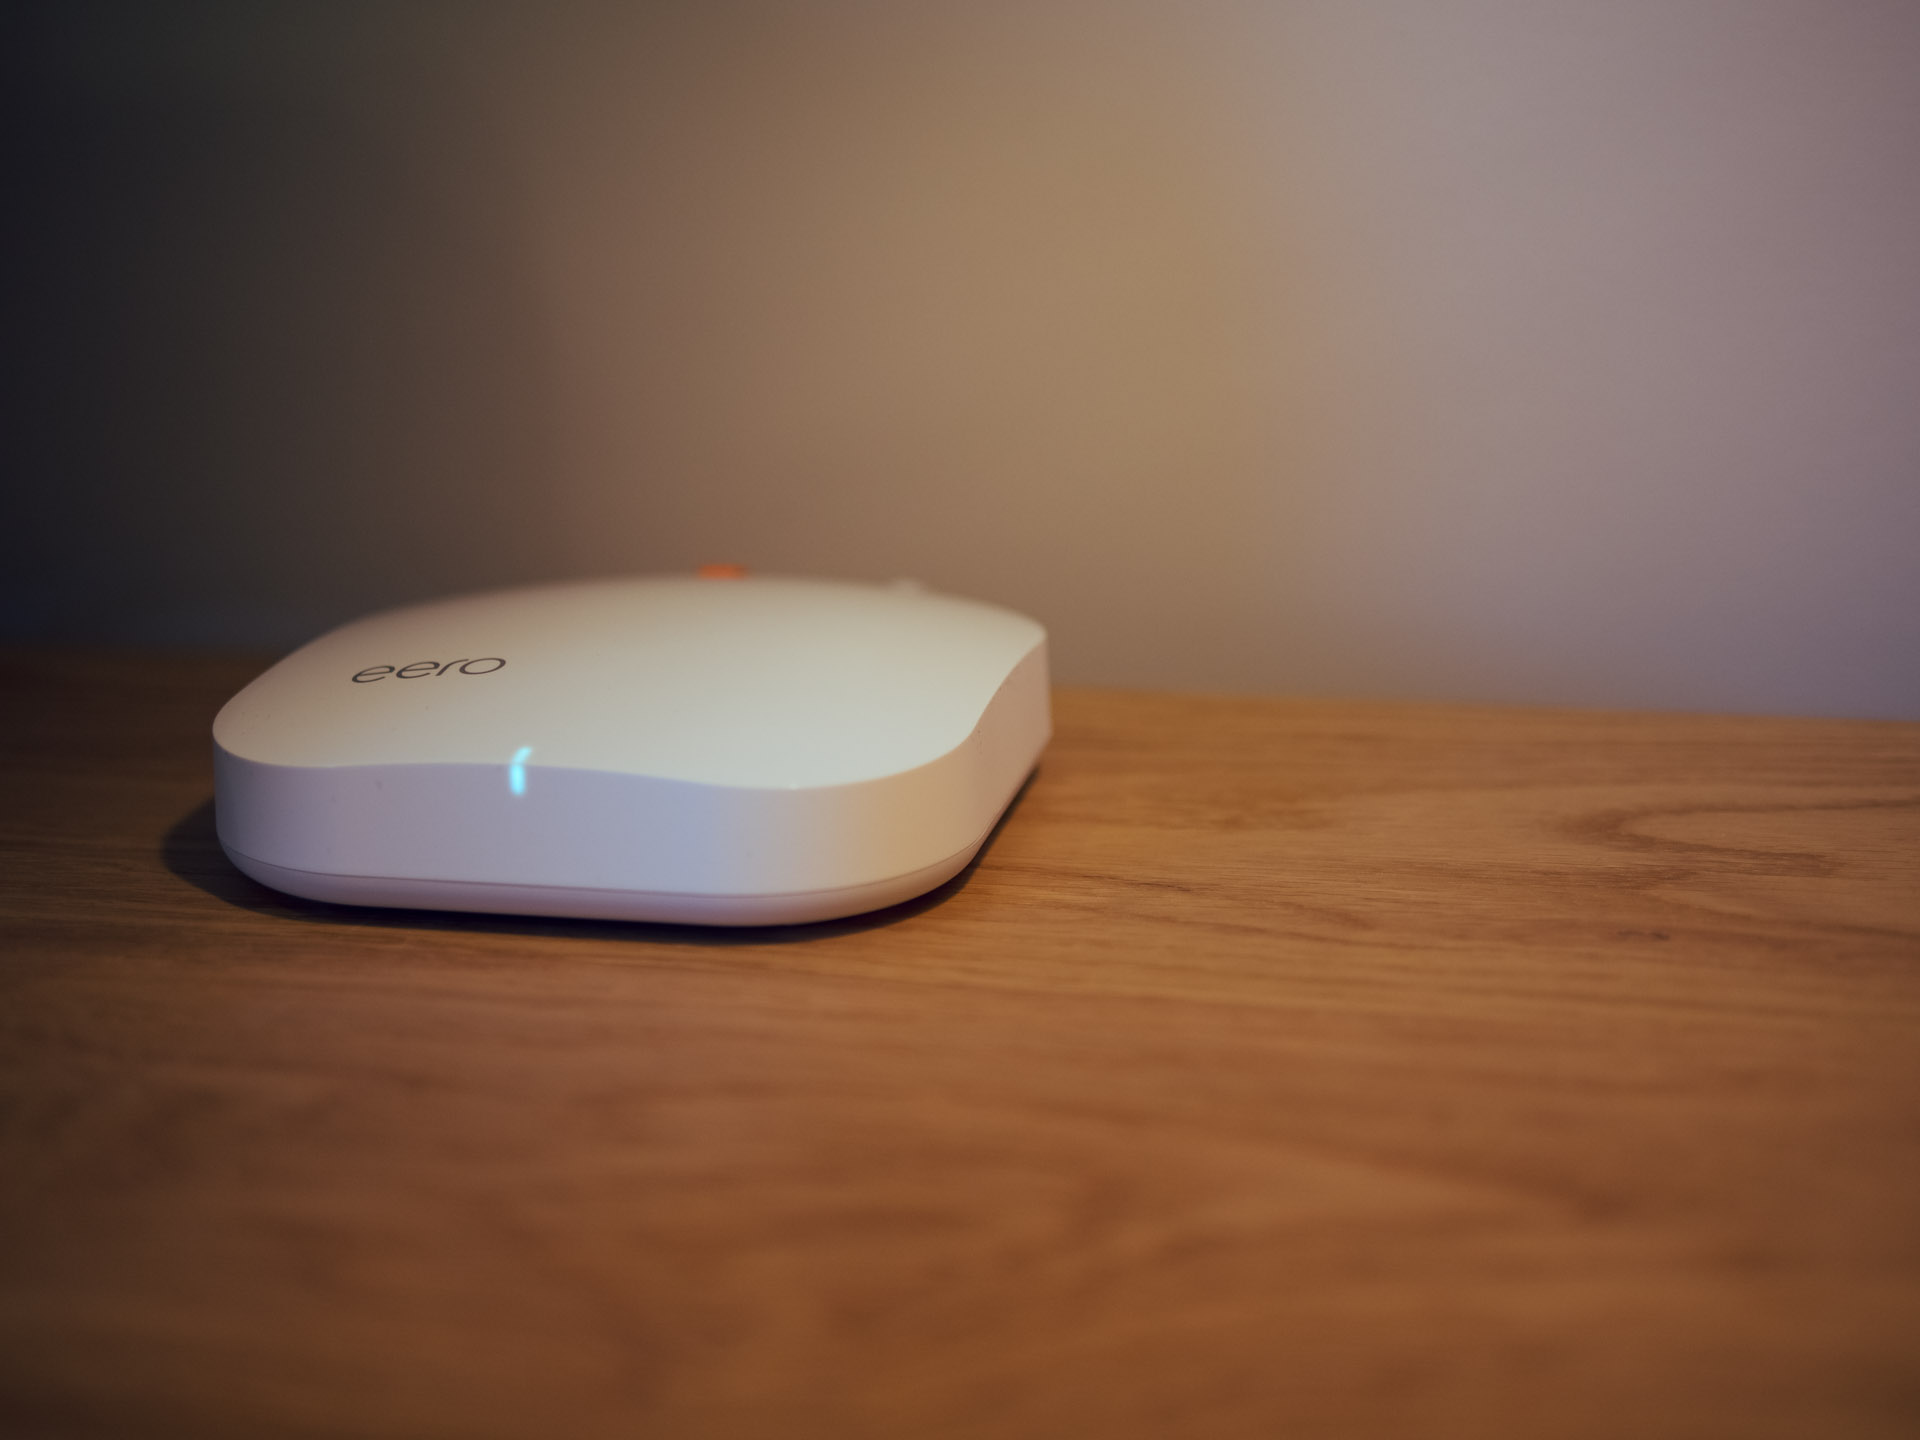
An eero puck — one of the best looking wireless routers you’ll ever find.
In short, I’m incredibly impressed with the eero. It took me 15 minutes to set the whole thing up and we are now getting much faster and much more reliable speeds all throughout the house. Sweet!
Setup
It’s very easy to get the eero system up and running.
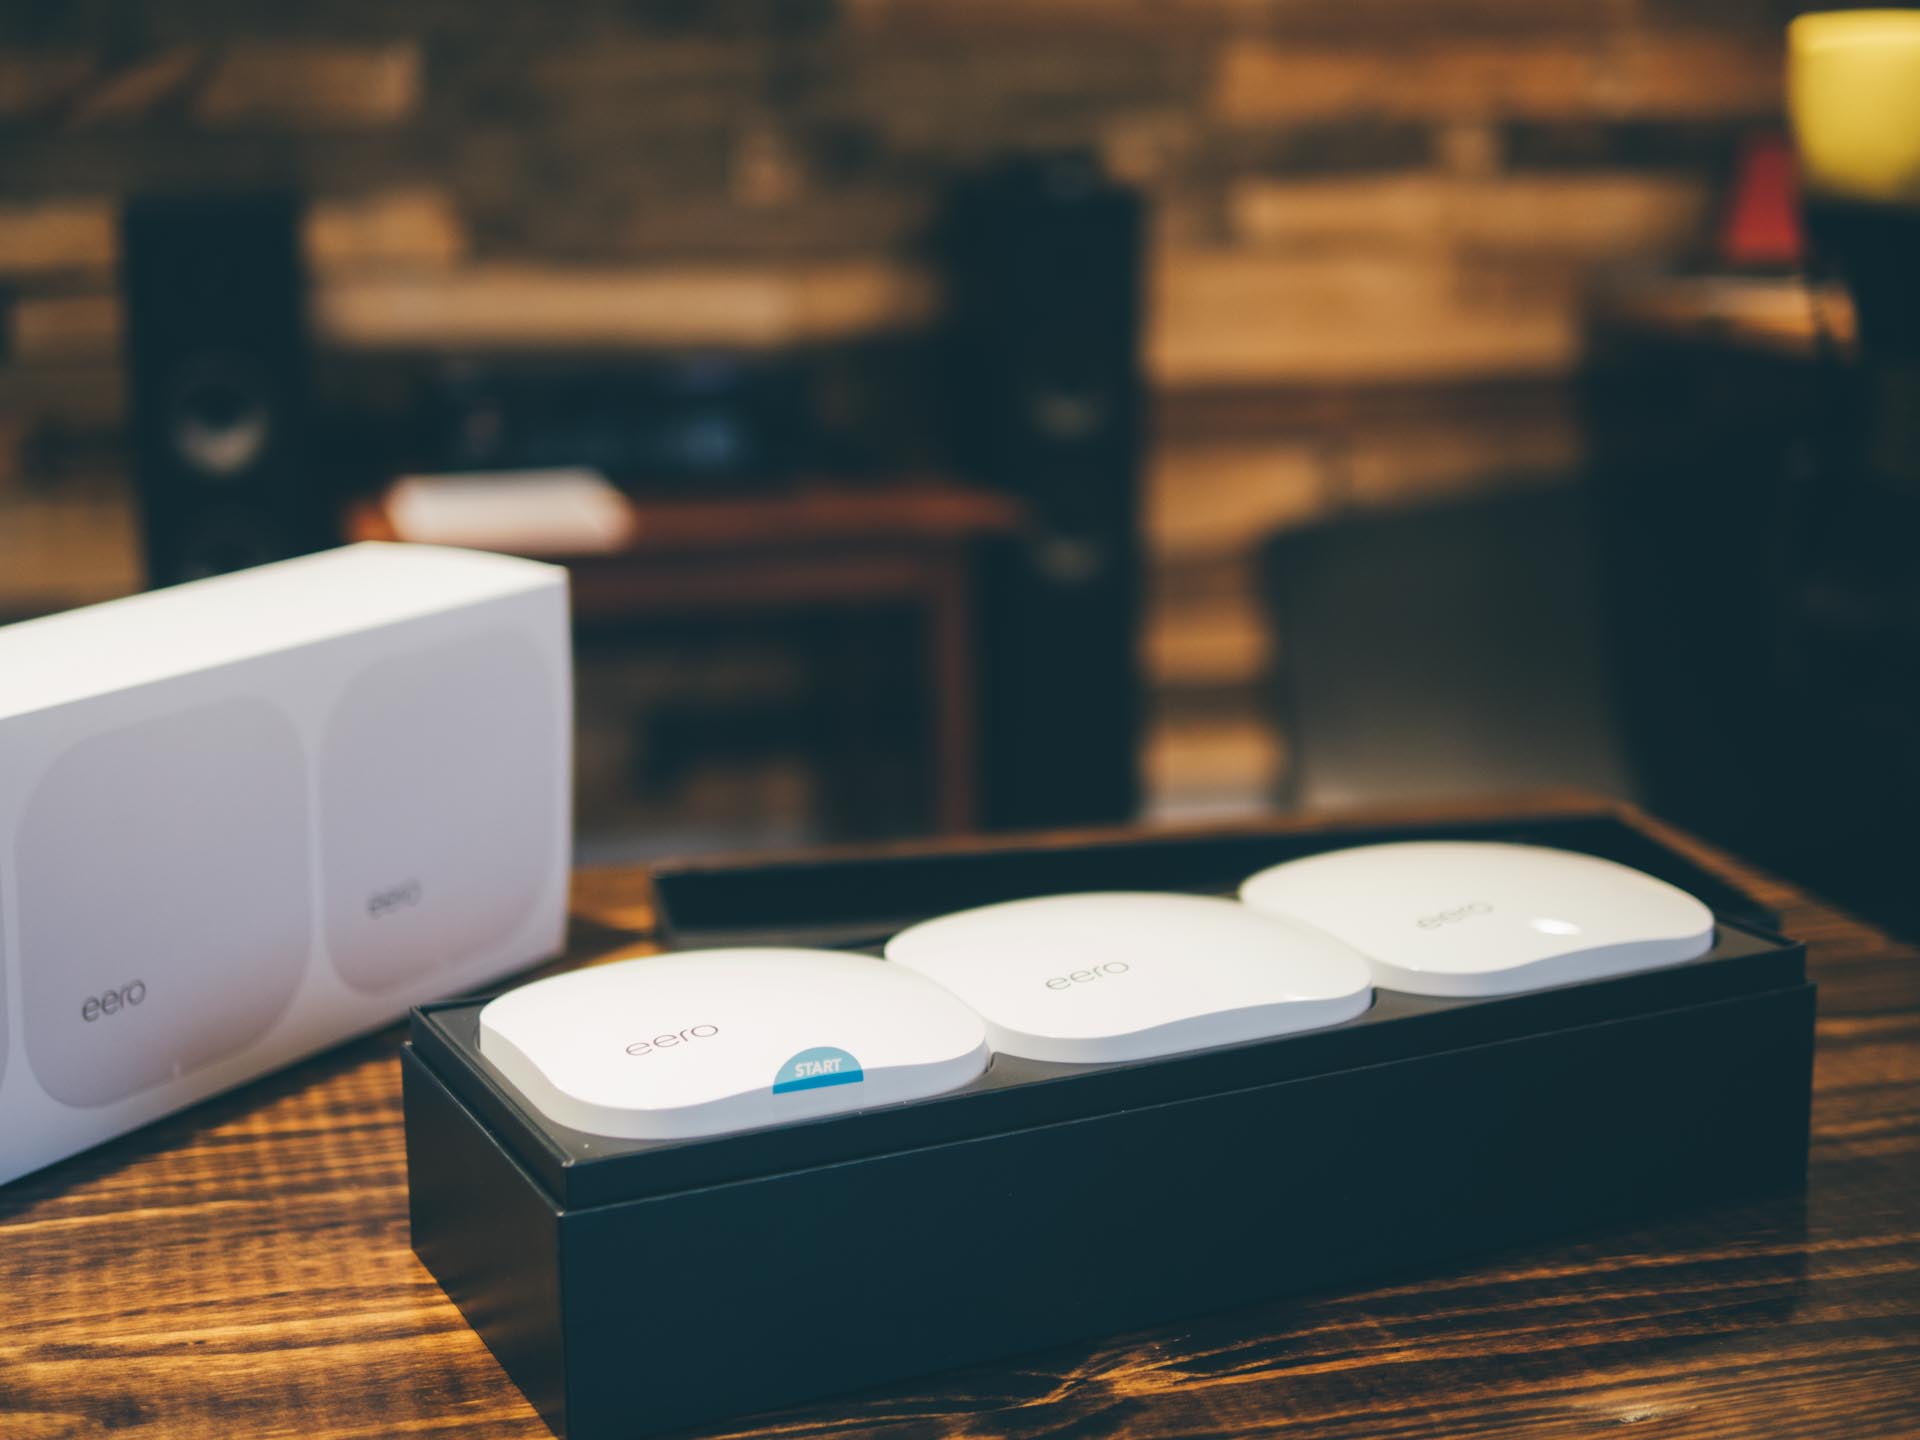
The eero three-pack comes in a skinny box with installation directions apparent right when you open the package.
You start by downloading the eero app (on either an iPhone or Android). It’s through the app that you setup and manage your eero network.
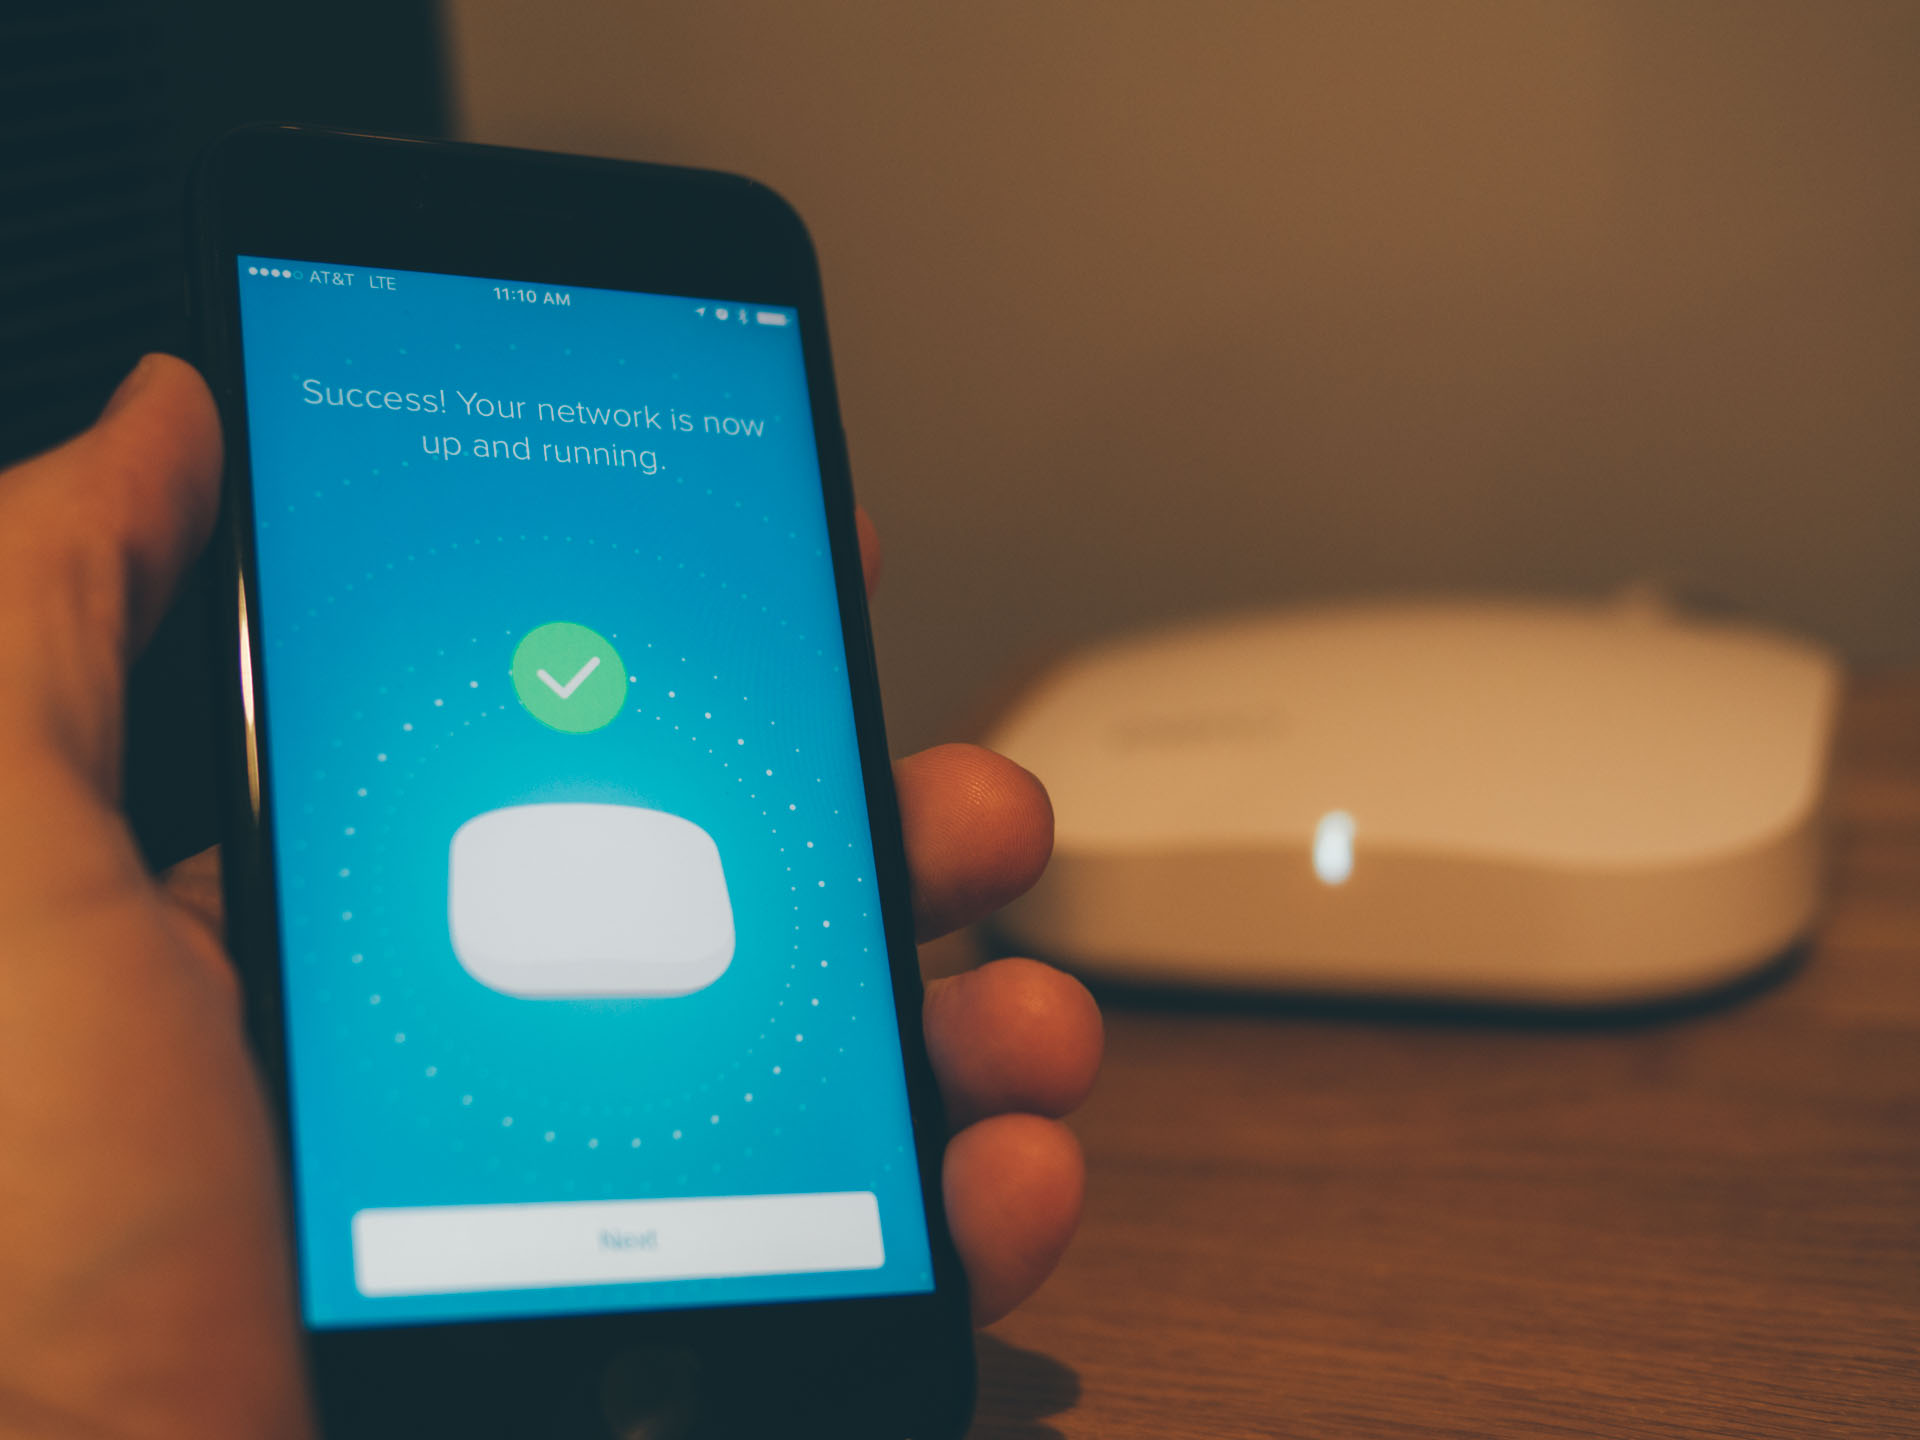
The iOS app is used to setup and install the pucks, along with managing and troubleshooting the network after installation.
The iPhone app is top-notch and makes it a straightforward process to add each of the three eero units to the network. You just follow the instructions in the app.
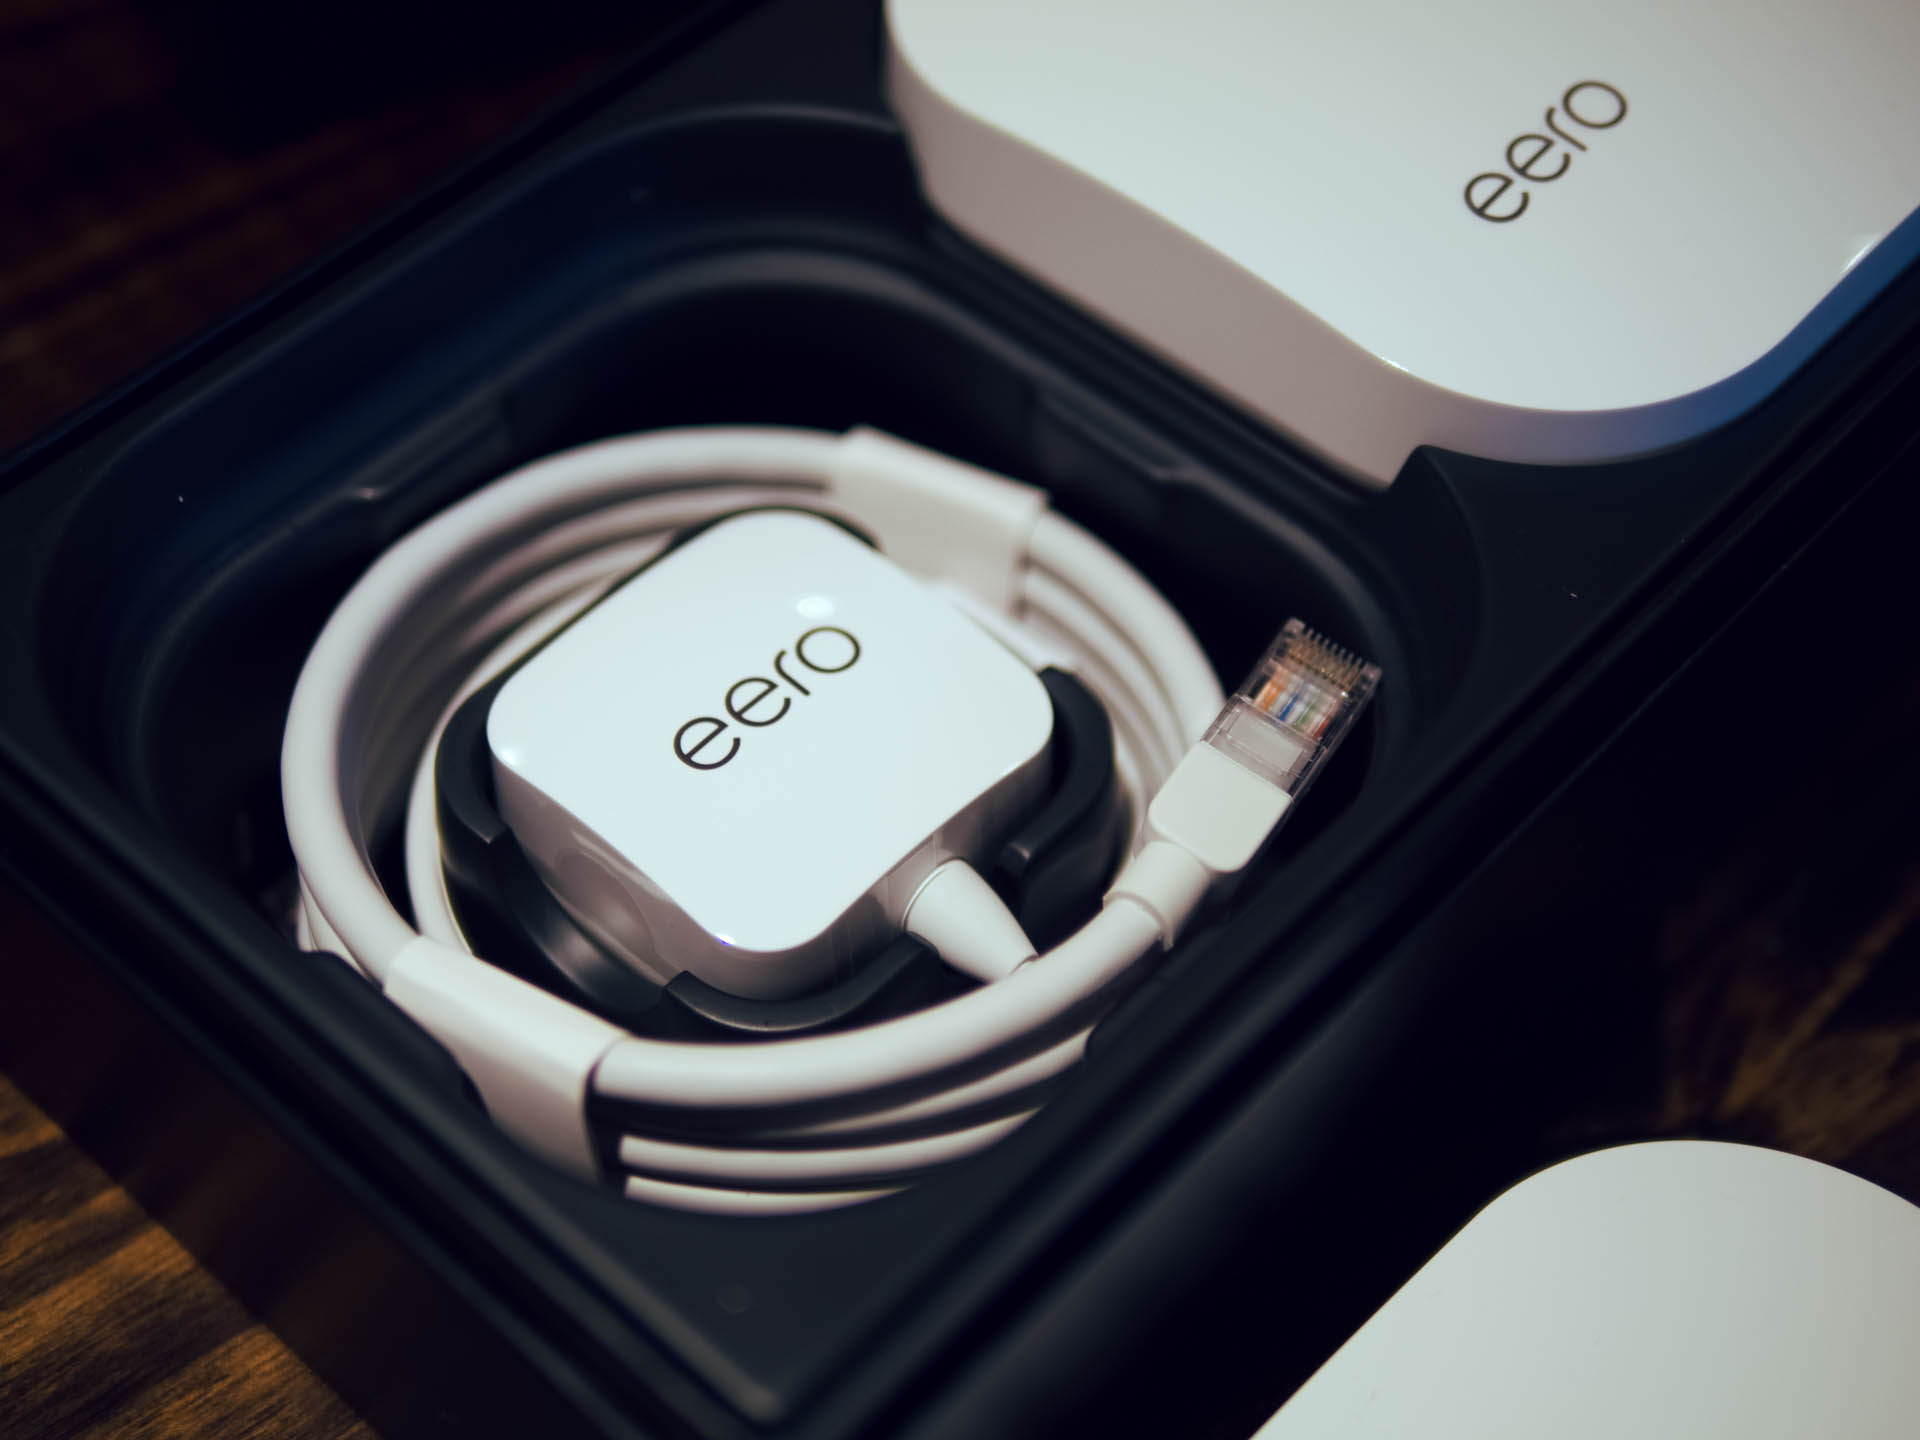
Underneath puck #1, you’ll find an eero branded ethernet cable to plug into your modem.
Once you’ve got the app opened up, you start with eero puck number 1 by plugging in an ethernet cable from your internet modem.
Once the first eero is active, your iPhone/Android app will automatically detect the router and walk you through the process of setting up your Wi-Fi network name and password.
(Pro Tip: When setting up the network, it’s a smart idea to use the same network name and password as your previous router had so you don’t have go around to all your connected devices and re-connect them to the Wi-Fi.)
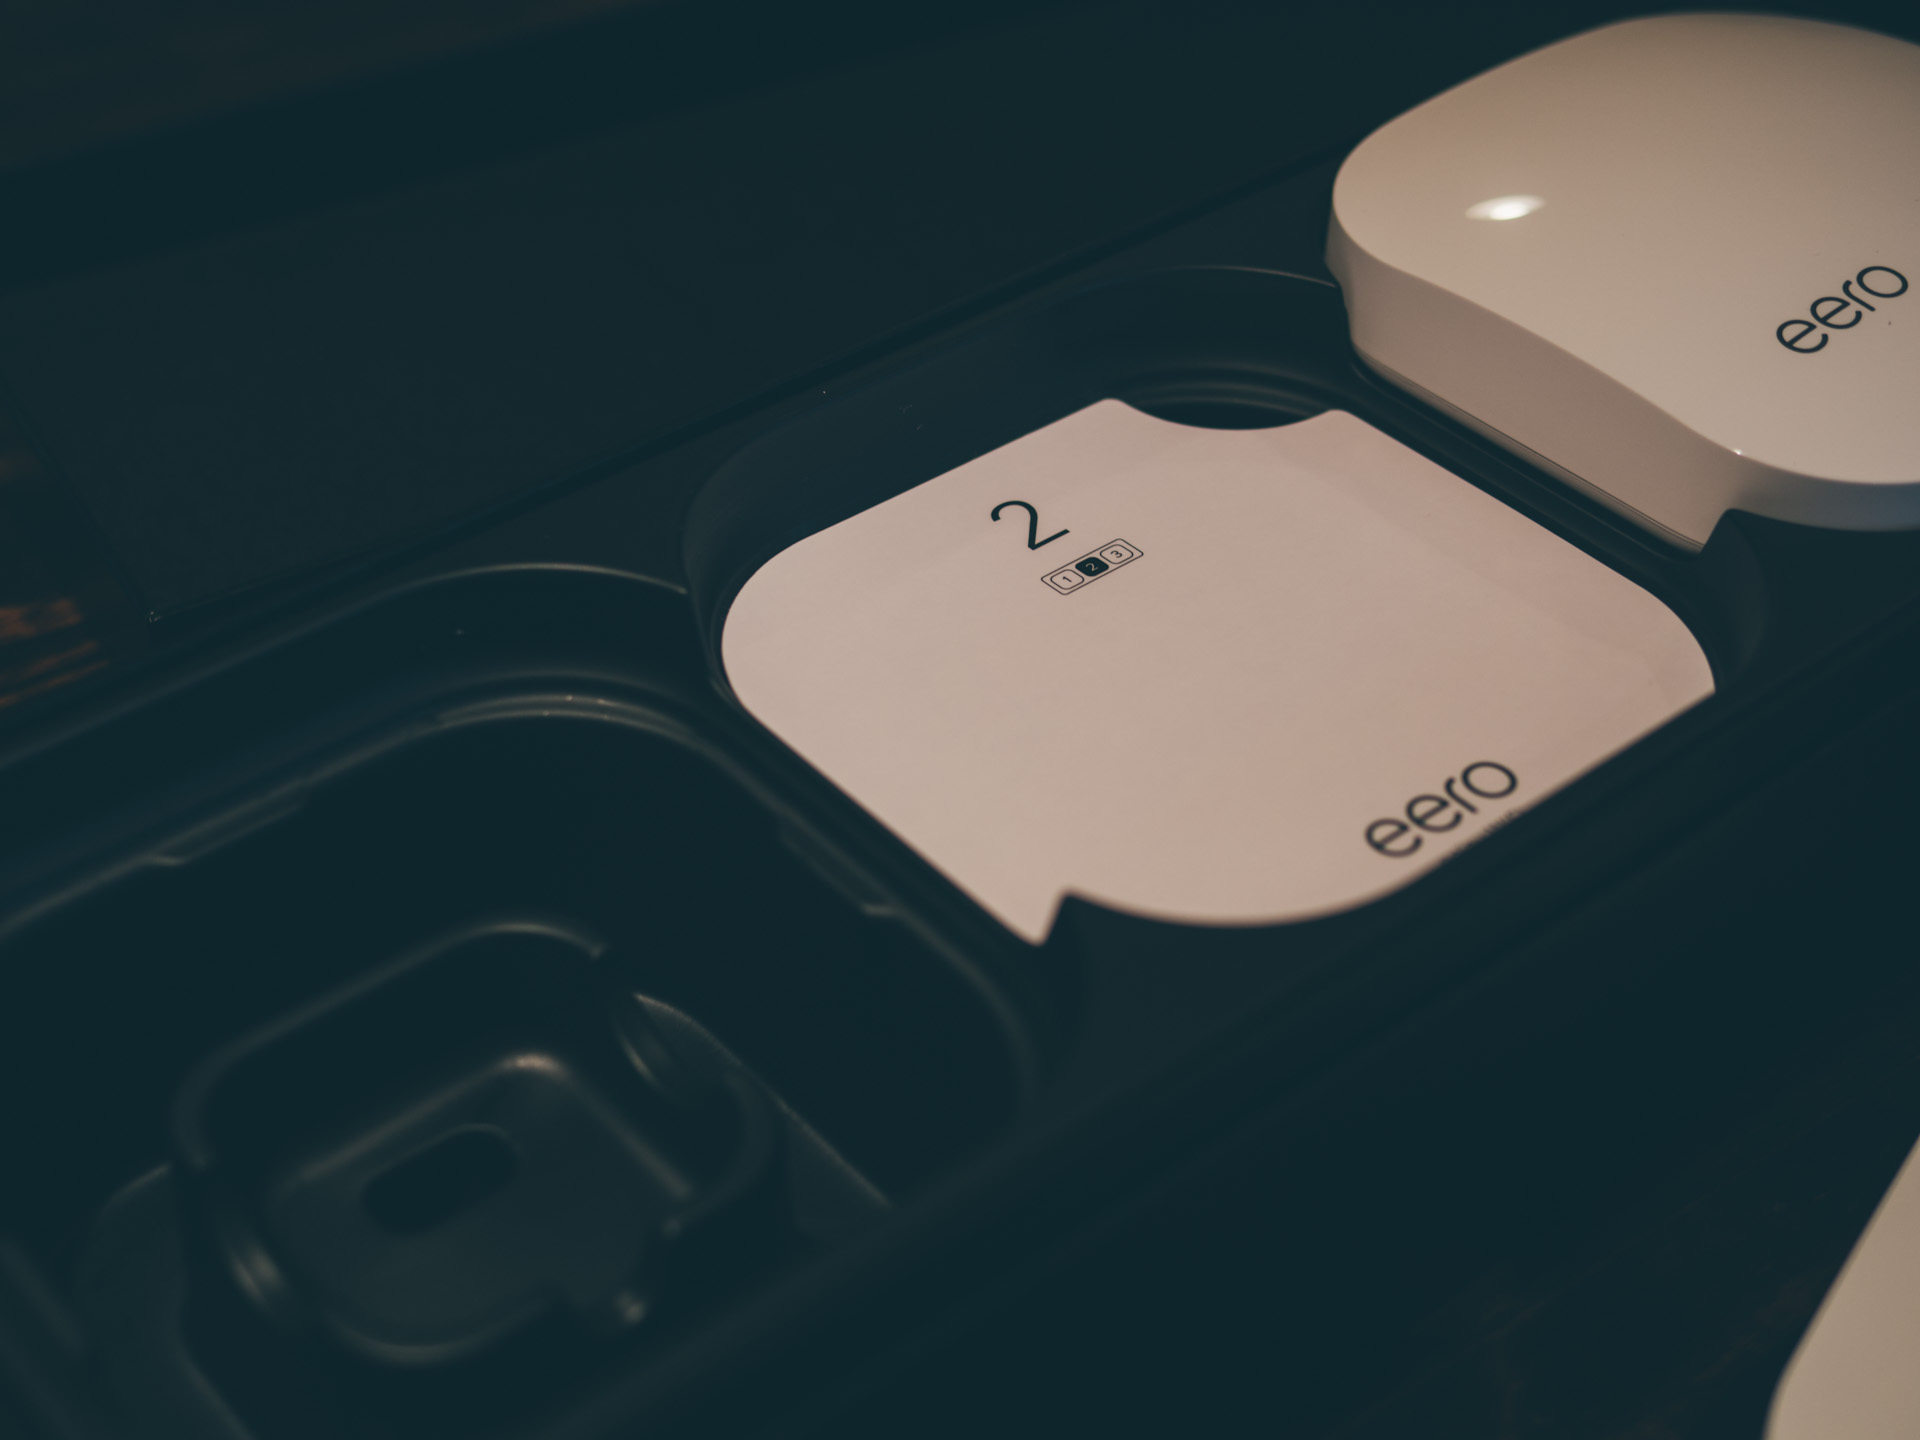
The how-to setup guide continues underneath the second puck.
With the first eero puck set up as the “home base”, the app will then ask if you’re done or if you’d like to add another puck to the network. You can add as many pucks as you like. I, obviously, added two more.
Troubleshooting Two Pucks
For the first week, the two upstairs pucks would lose connectivity to the main network.
I tried rebooting them, but no luck.
I tried completely resetting them and kicking them off the network and then adding them back on, and they still didn’t get connected.
But then, by simply turning off and on of my “primary” puck, it did the trick.
My Network Setup and Gear
Eero recommends 1 puck per 1,000 square-feet.
Our home is 2,500 square feet and we have 3 eeros: 1 in the home office that’s down in the basement, 1 directly above the office, in the living room, and 1 on the top floor in the master bedroom.
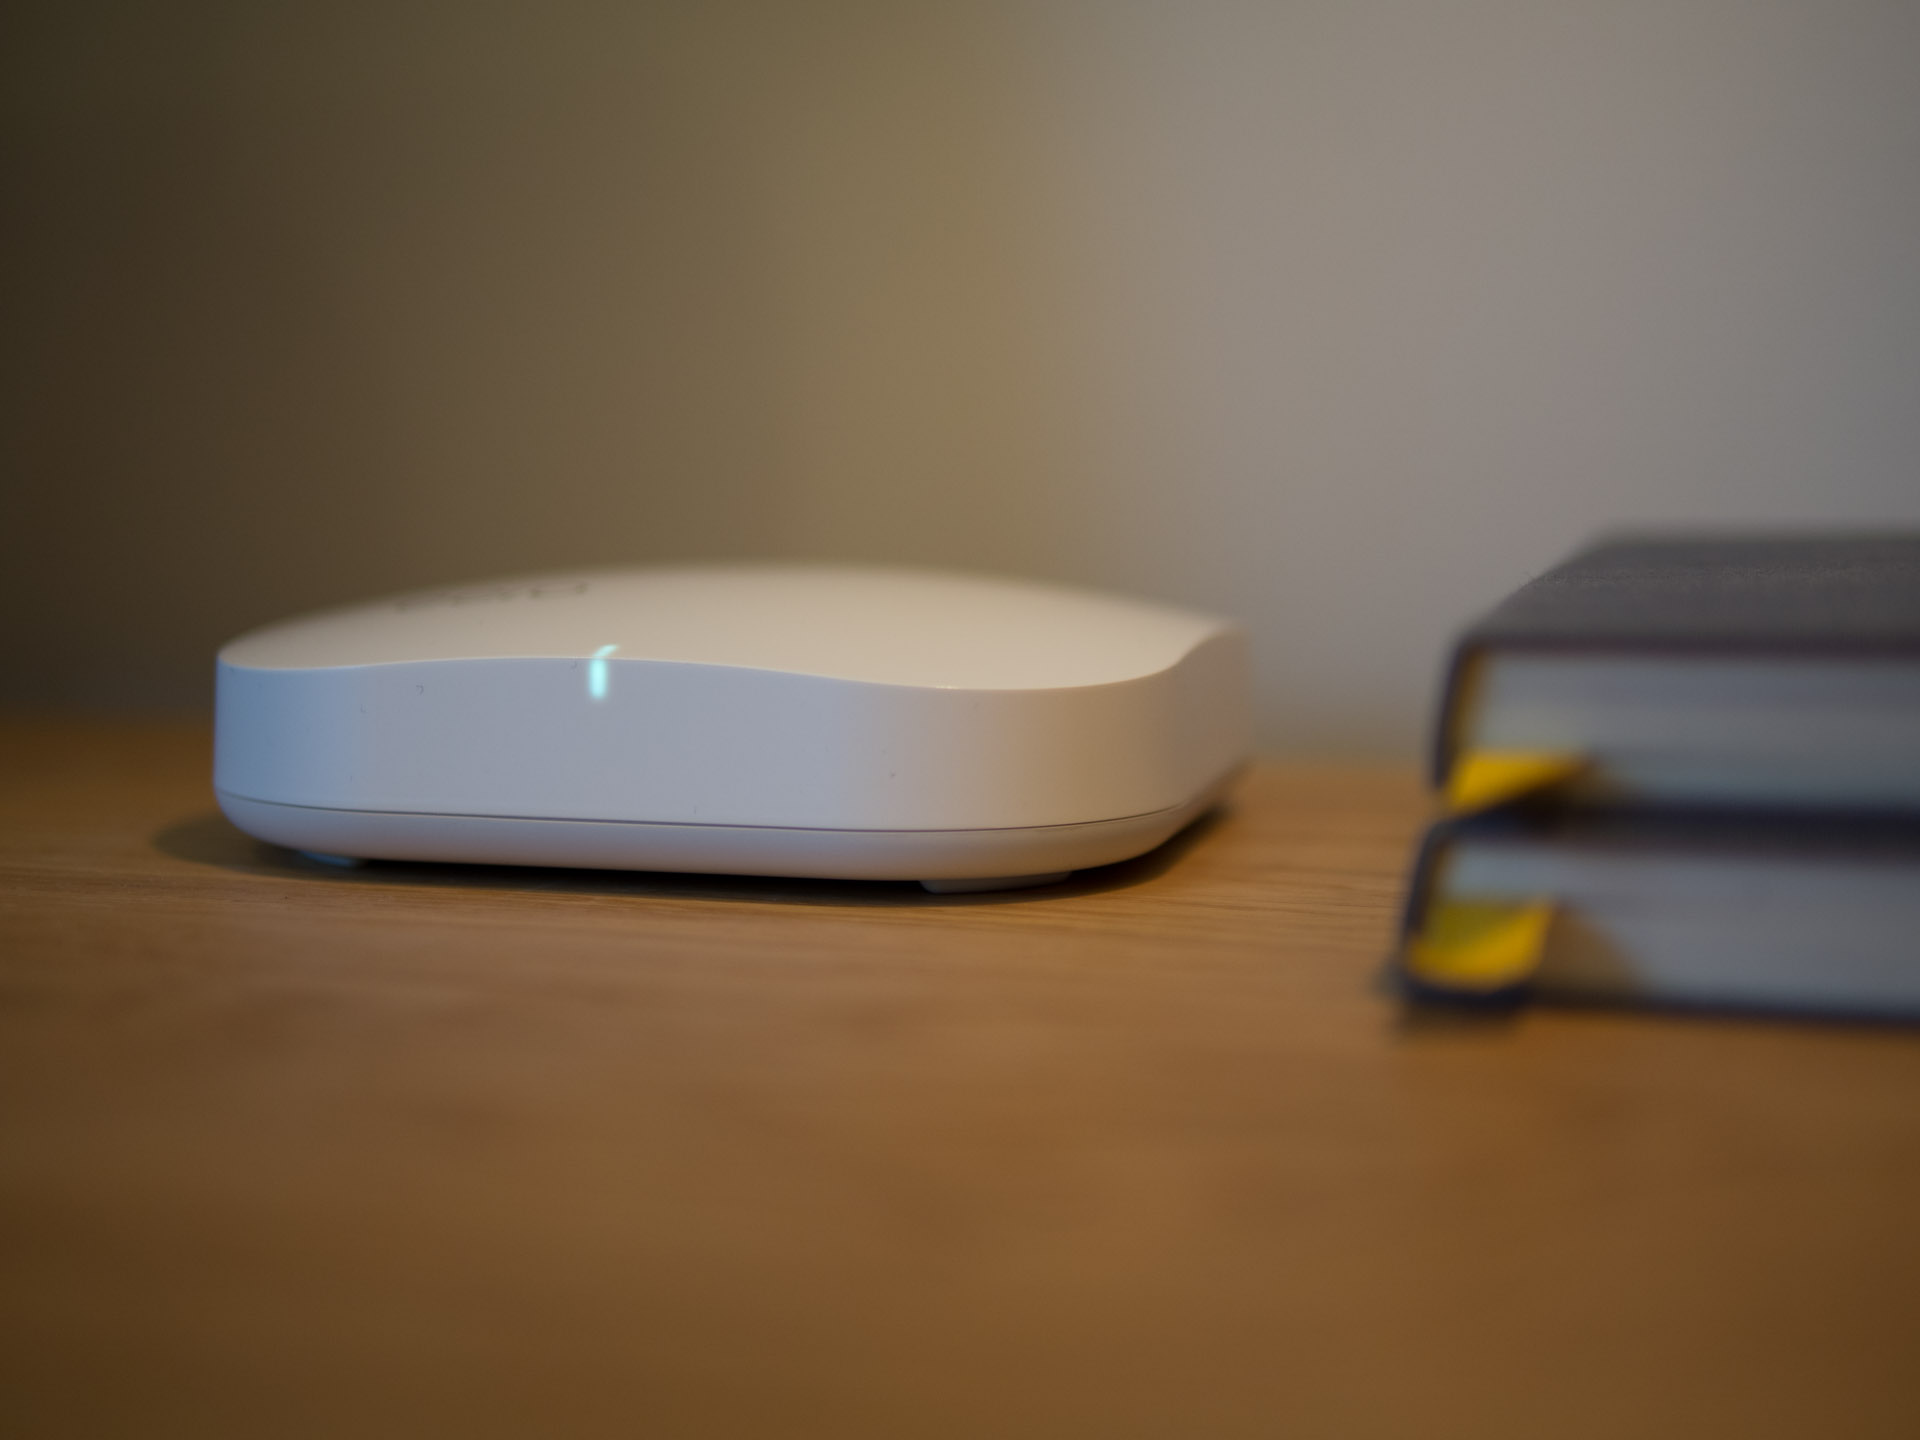
The eero pucks are meant to be placed out in the open because it allows for a stronger signal.
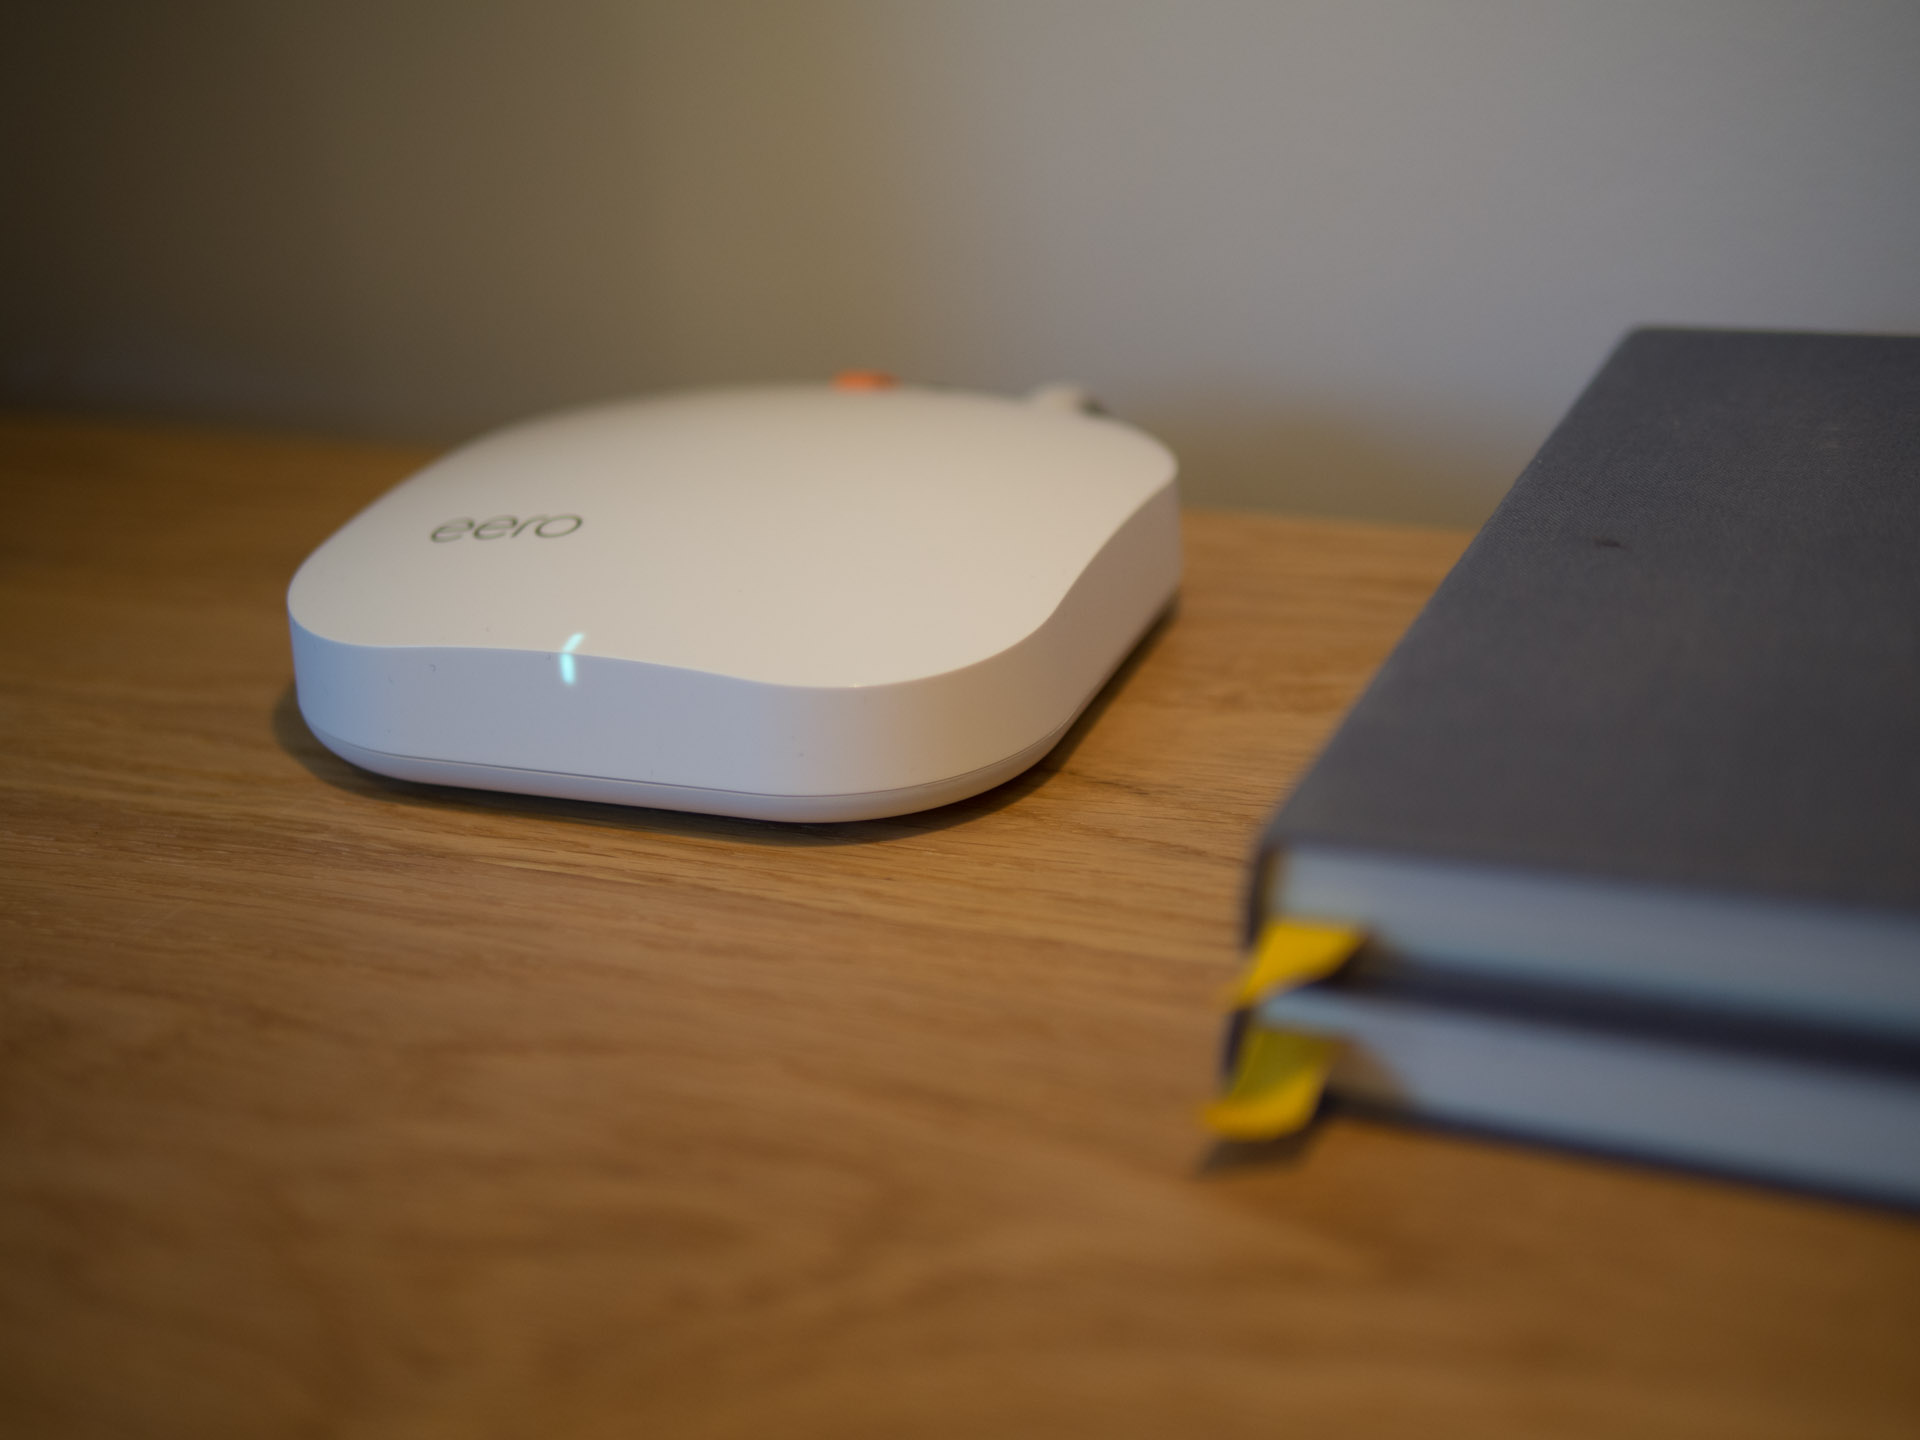
Fortunately, the minimal, thoughtful design of the eero pucks makes them a design piece when displayed in the open.
The eero pucks are meant to be placed out in the open because it helps allow stronger internet signal. Thus, the devices themselves are designed to look nice so you won’t mind so much if one is sitting on top of your bookshelf or kitchen counter.
The eeros connect to one another using a mesh network. This past fall, eero shipped their own version of a mesh network they call TrueMesh™.
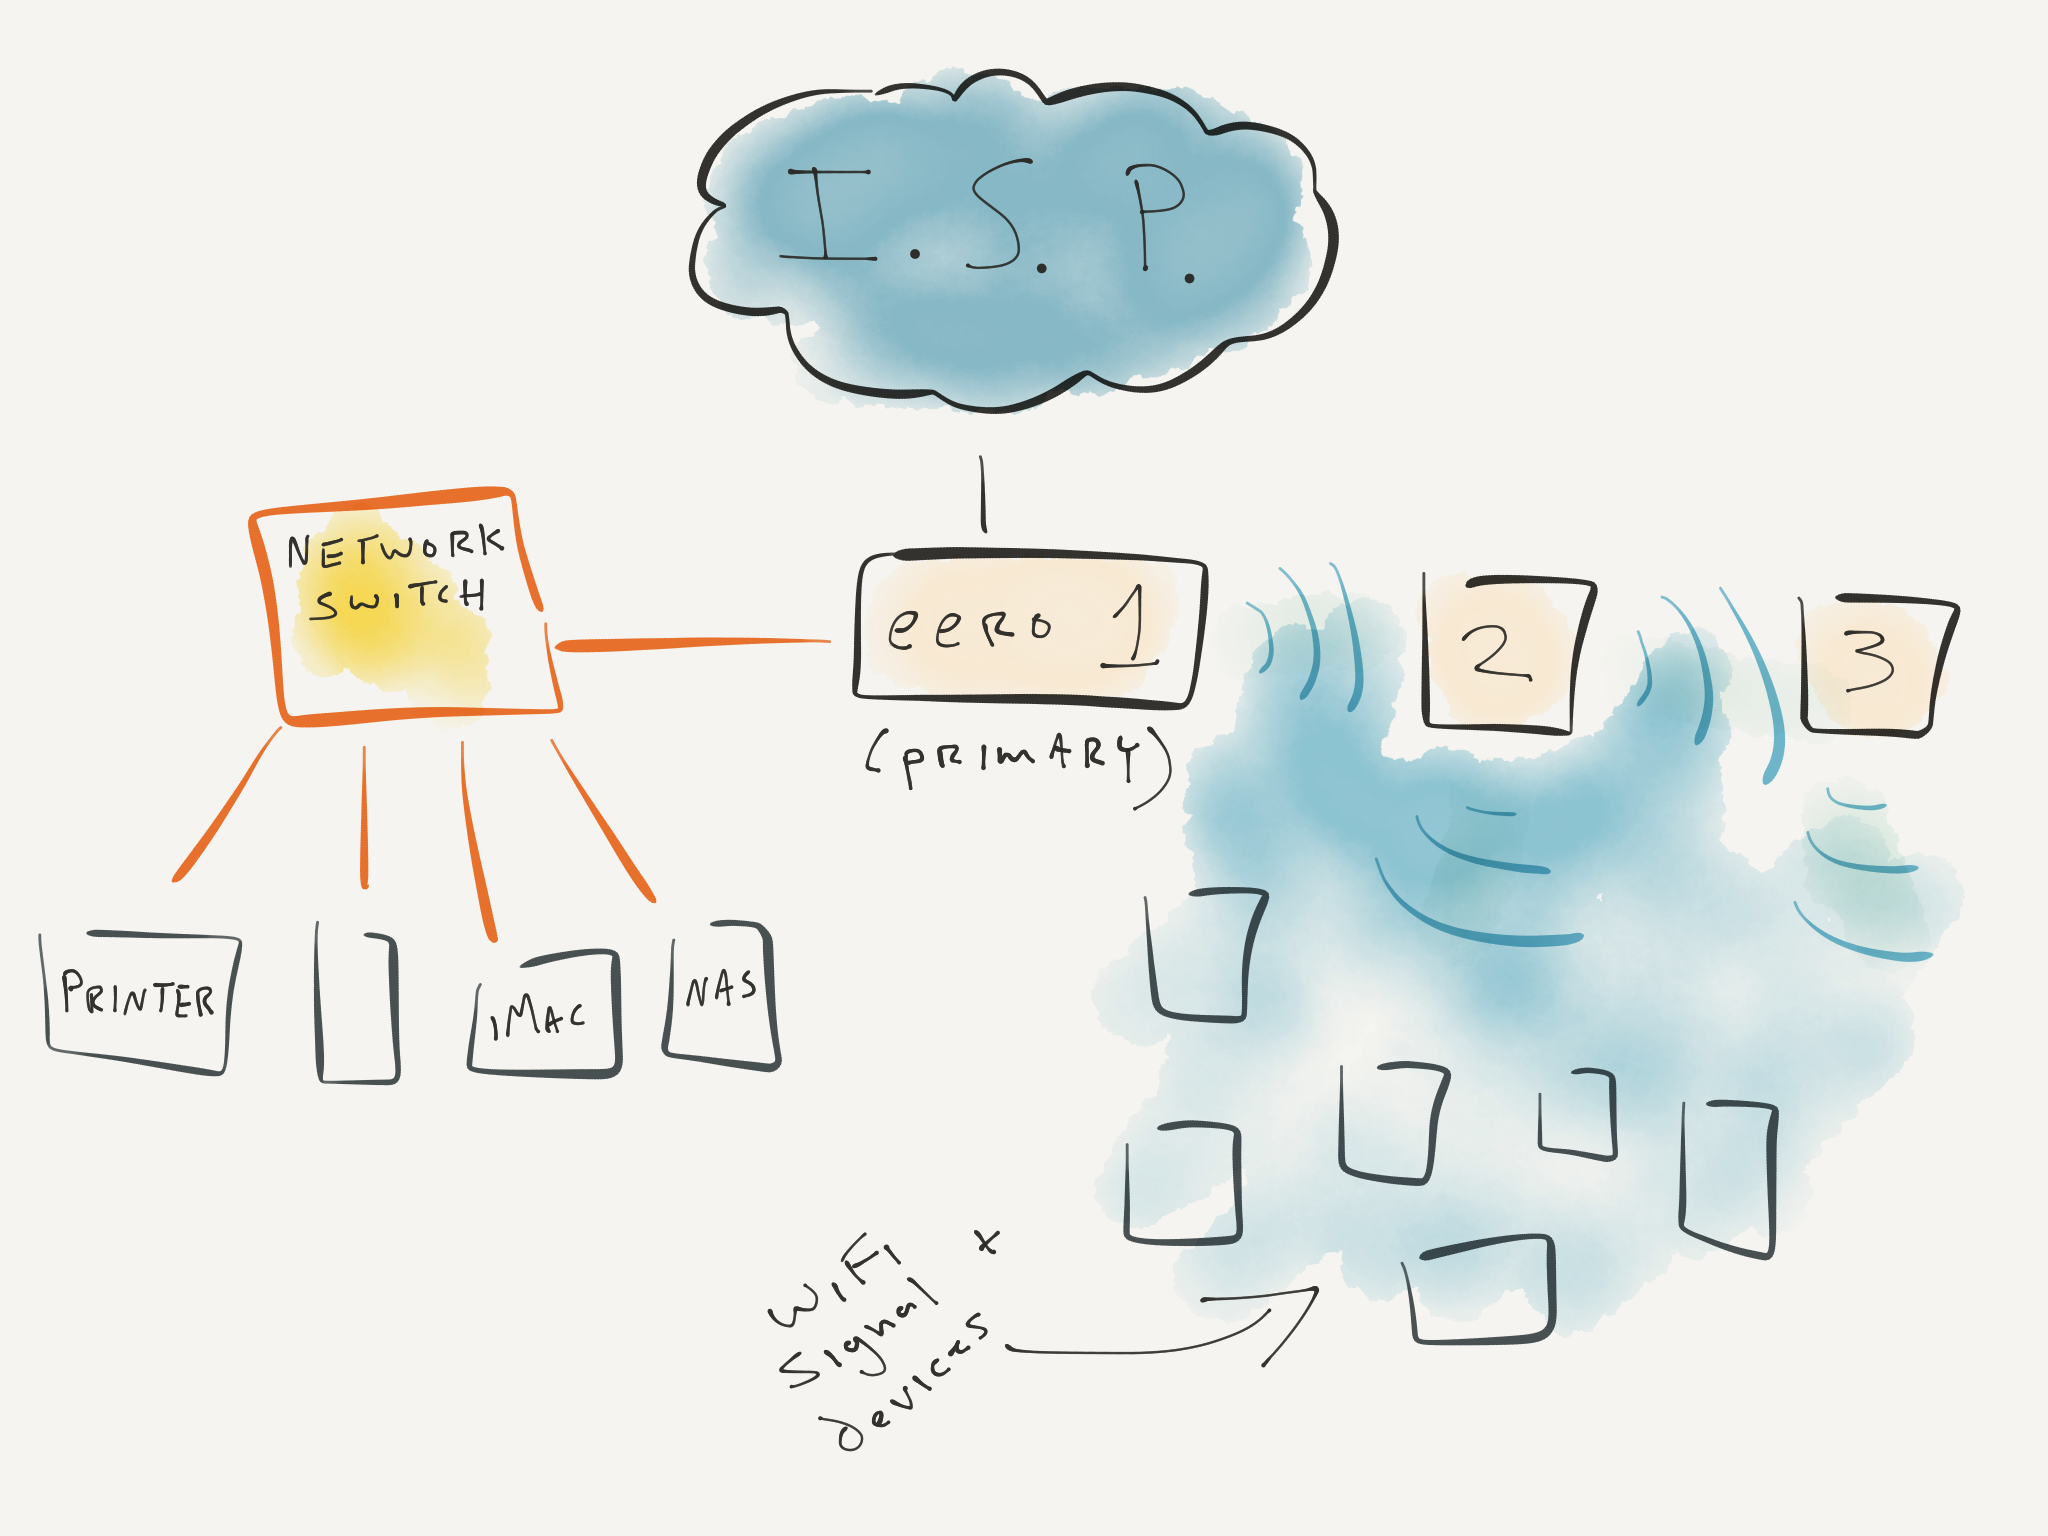
Basically you just need one eero that is connected to the modem, and then all the other eero pucks connect to one another wirelessly.
(Side note: As awesome as eero’s TrueMesh is, the nerd in me still wants to run ethernet to my other eero pucks. Not that I need to, but if I did then I’d be able to get even faster speeds!)
And, speaking of nerdery…
On the back of each eero puck is one additional port you can use for outbound ethernet and one USB 2.0 port. Alas, the USB port can’t be used to connect a printer or storage device. According to eero, the USB port is only for diagnostic purposes.
Thus, if you want to have a bit more of an advanced network, you’ll need to get a network switch. I bought this 8-port switch for $25.
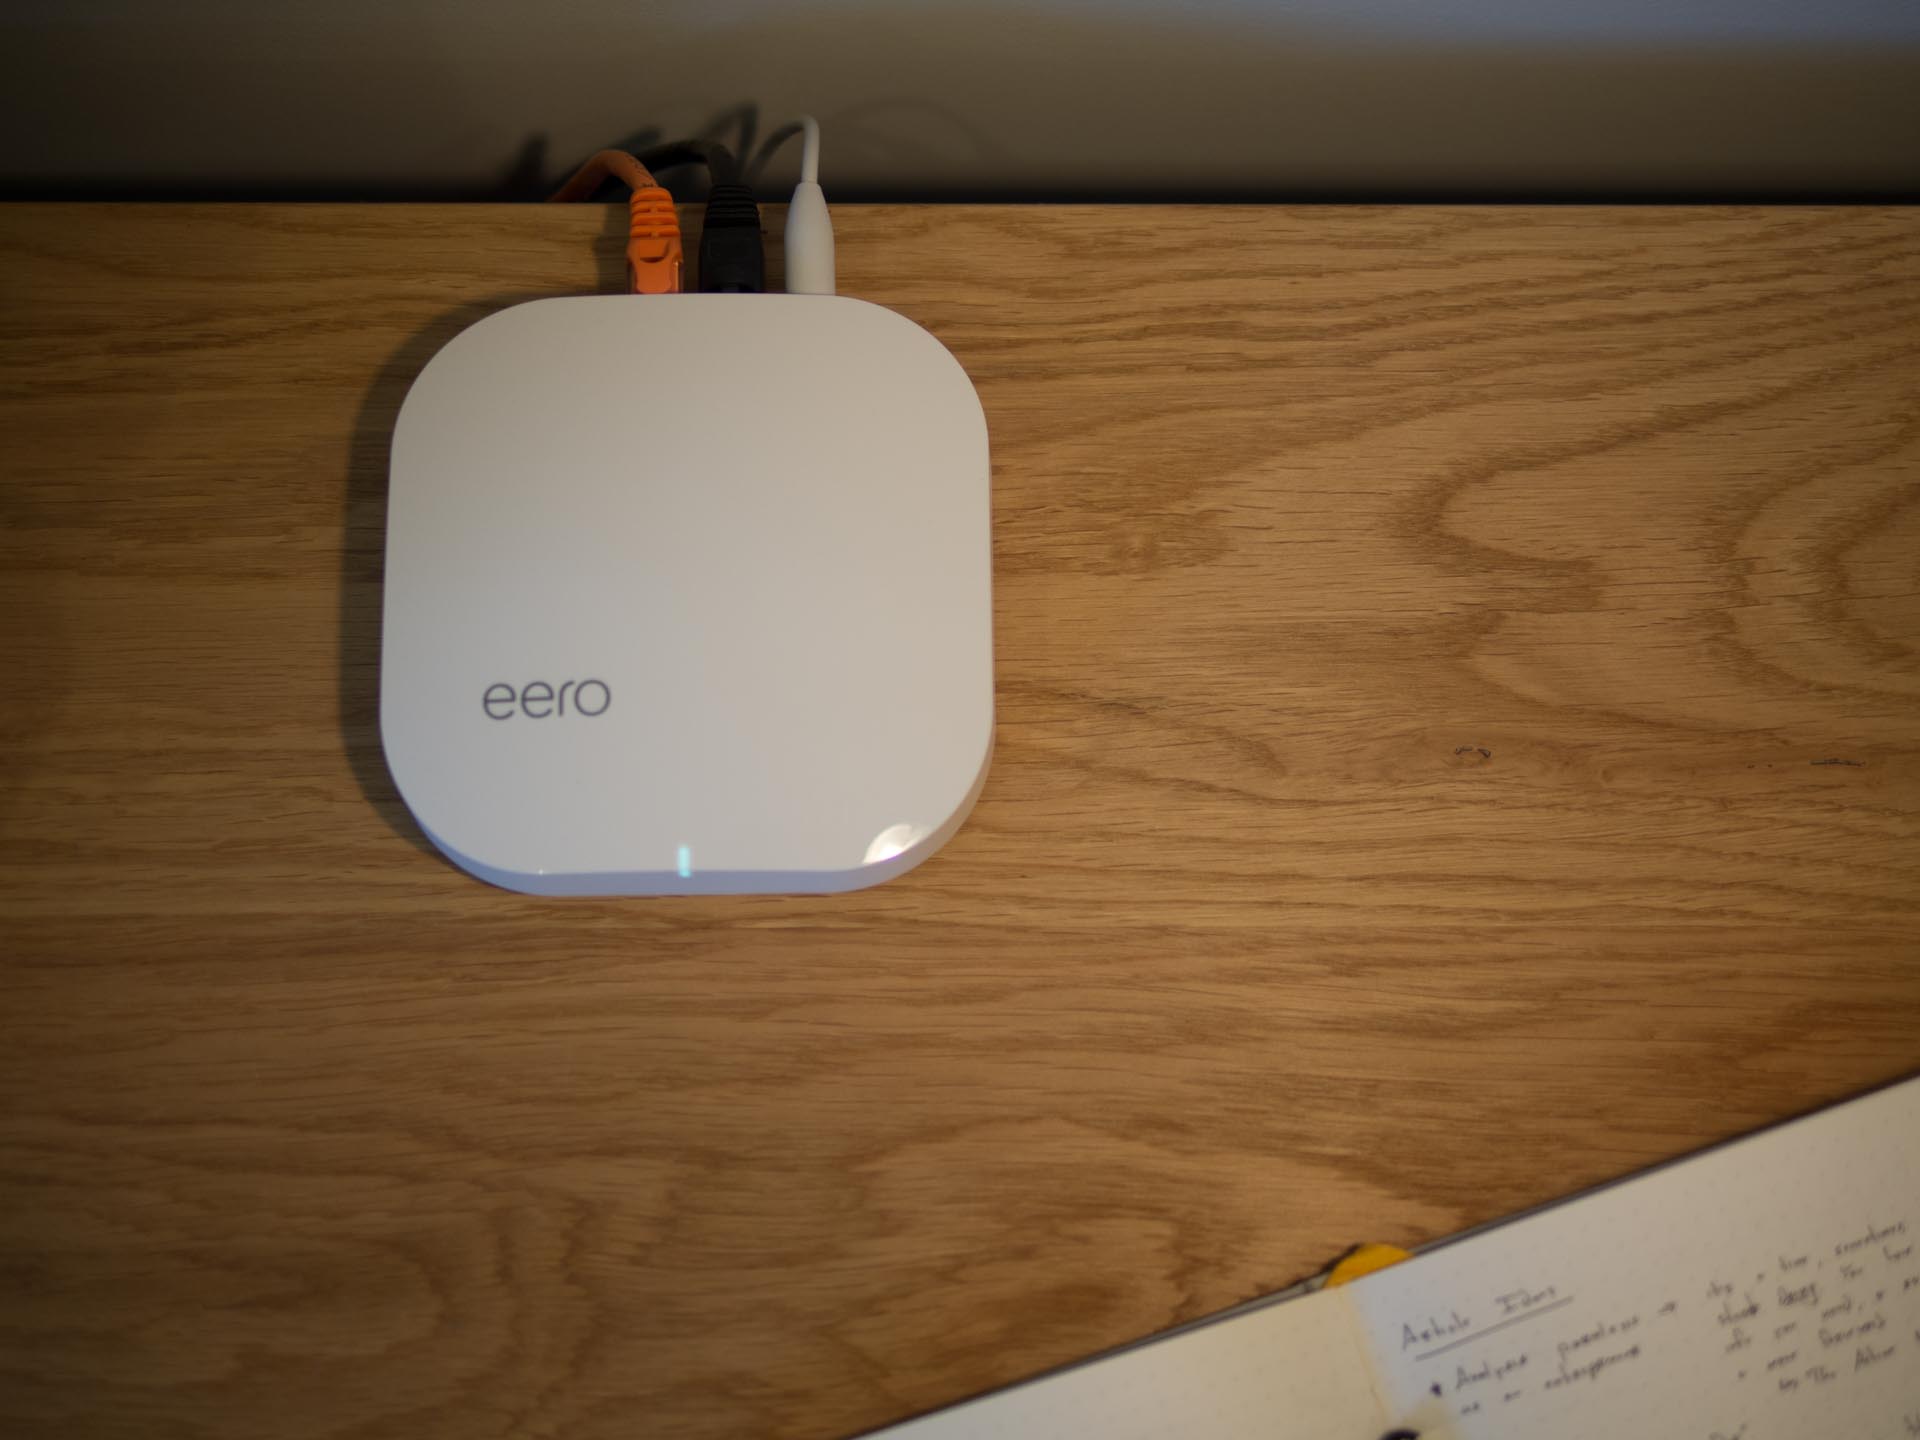
Unfortunately, if you’re looking for a more advanced network with connected printers and storage devices, you’ll need a switch. The eero’s sole USB port is for diagnostic purposes only.
Moreover, if you have a USB printer and/or storage device that you want to hook up to your network, you’re out of luck. Some routers (such as Apple’s AirPort Extreme (RIP)) will let you hook up a USB printer or storage device. If you’ve already got a router like this, you can actually re-purpose it to act like a switch instead.
My AirPort Extreme, when hooked up to the network, can host my USB hard drive. It gets read/write speeds of about 20MB/s and 30MB/s respectively. When hooked up directly to my iMac, however, that same drive gets read/write speeds that are 3-4x faster. (Primarily because the AirPort Extreme’s USB port is USB 2, and my iMac is USB 3)
All this to say, if you have multiple computers and peripherals that you want to connect directly, you’ll need a network switch of some sort.
Fortunately, network switches are very cheap and very easy to set up. I bought this one and it allowed me to connect my iMac, Isaac’s laptop, my printer, and my Synology with a few ports to spare so I can run a hardwire connection to the other eero pucks if I want to.
Here’s a rough outline of what my network setup looks like:
Day to Day Usage
While having faster Wi-Fi speed throughout the house is great, what’s even better is that we have reliable Wi-Fi.
This, for me, is the primary perk of the eero network. I was able to keep our main “internet hub” in the office, where the bulk of devices are connected. And we also have a strong and reliable signal throughout the rest of the house.
But there are some additional things that make the eero even cooler than it already is, thanks to the app.
The Eero App
In addition to helping you manage and set up your network, the eero app has quite a few other features as well:
Create and share a Guest Network: With a guest network, you can allow guests to connect to the internet. Since they’re not on the main network, they won’t have access to any network-attached storage files, nor will they be able to stream music. The eero app even has a cool tie-in to the iOS Share Sheet where you can send the network name and password via text message, etc.
Manage Connected Devices: The app will tell you how many devices are currently on the network, and what those devices call themselves (their Hostname). This makes it easy to identify the connected devices and then you can create nicknames for them.
(Something the Google Wi-Fi app does is log the amount of internet usage for each device and for the network as a whole. Not exactly critical information, but also pretty cool.)
- Create Profiles for Specific Devices: You can create family profiles. In short, these profiles allow you to automatically pause internet usage on a per-device basis.
Our boys are only five, three, and five months old, and none of them have an internet-connected device yet. So while the Blanc household doesn’t have any need to manage people’s internet connections just yet, I like the idea of it.
Within the profiles, you can set hours that the internet is not available to a specific device. Such as Bedtime, Dinner, etc. You can specify Dinner as being from 6-7pm and Bedtime as being from 9pm – 7am, and then all the devices which are assigned to that profile will not be able to access the internet during those times.
When a network pause goes into effect for a device, you get a notice in the browser window saying that “Your device has been paused.” And in any other app it acts as if the internet is out.
While a device can only be assigned to one profile, you can create as many profiles as you like and name them whatever makes the most sense.
- Advanced Settings: While the eero app is simple and easy to use, it also gives you access to the typical advanced settings such as Port Forwarding, the ability to set your DNS, and more.
The eero app will calculate the network speed that its getting direct from the ISP. But, what’s interesting is that the speed always seems incorrect.
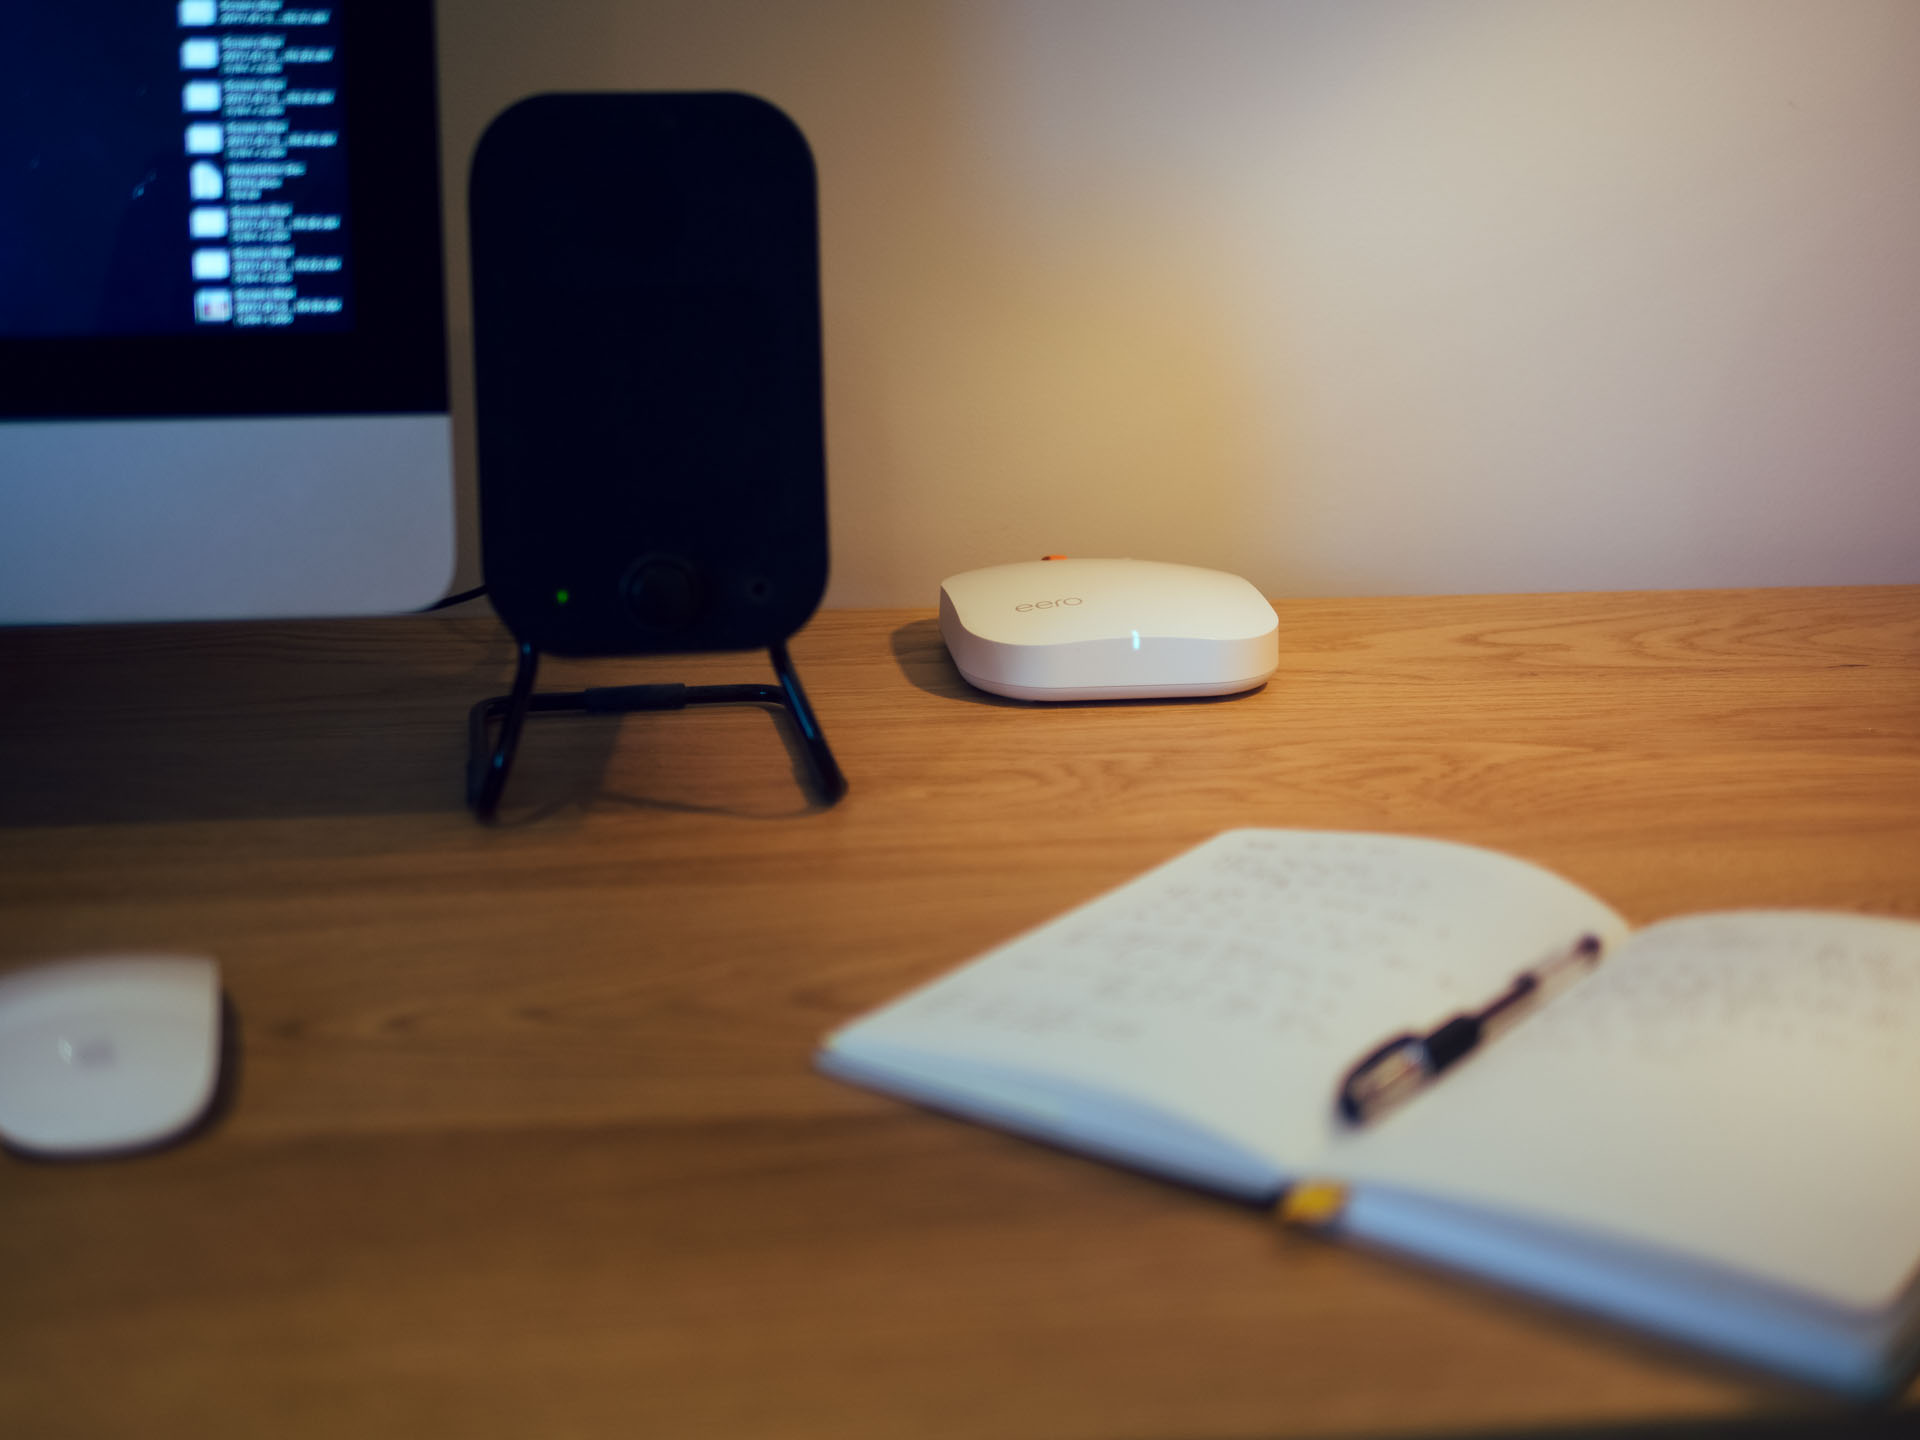
The eero delivers impressive speeds across the entire network, but the reported speeds in the app seem wrong.
We have Google Fiber at the house and get Gigabit speeds. But I’ve never seen Gigabit speeds reported from within the eero app even though my connected devices are getting those speeds.
For example, my iMac is hardwire connected, and as I mentioned above, it gets speeds over 900Mbps no problem. But my eero app network speed reporting will vary, and it rarely reports speeds faster than 300 – 400 Mbps. It’s not a big deal, since the effective speeds we’re getting on the devices themselves are the true speeds, but it does make me wonder how eero is calculating its speed reports.
Wrap Up
As I’ve said many times in the review, the eero is great on pretty much every level. It’s easy to set up and use, and it delivers what it promises: faster and more reliable Wi-Fi throughout your home.
The only drawback, and pretty much the universal hesitation that I’ve seen from every other owner and reviewer as well, is the price…
Eero isn’t cheap: A 3-pack of pucks runs $445 on Amazon. And then it’s $199 for an individual puck (alas, no upgrade or loyalty discount for your 4th eero device — it’s actually more expensive per-puck to add extra devices).
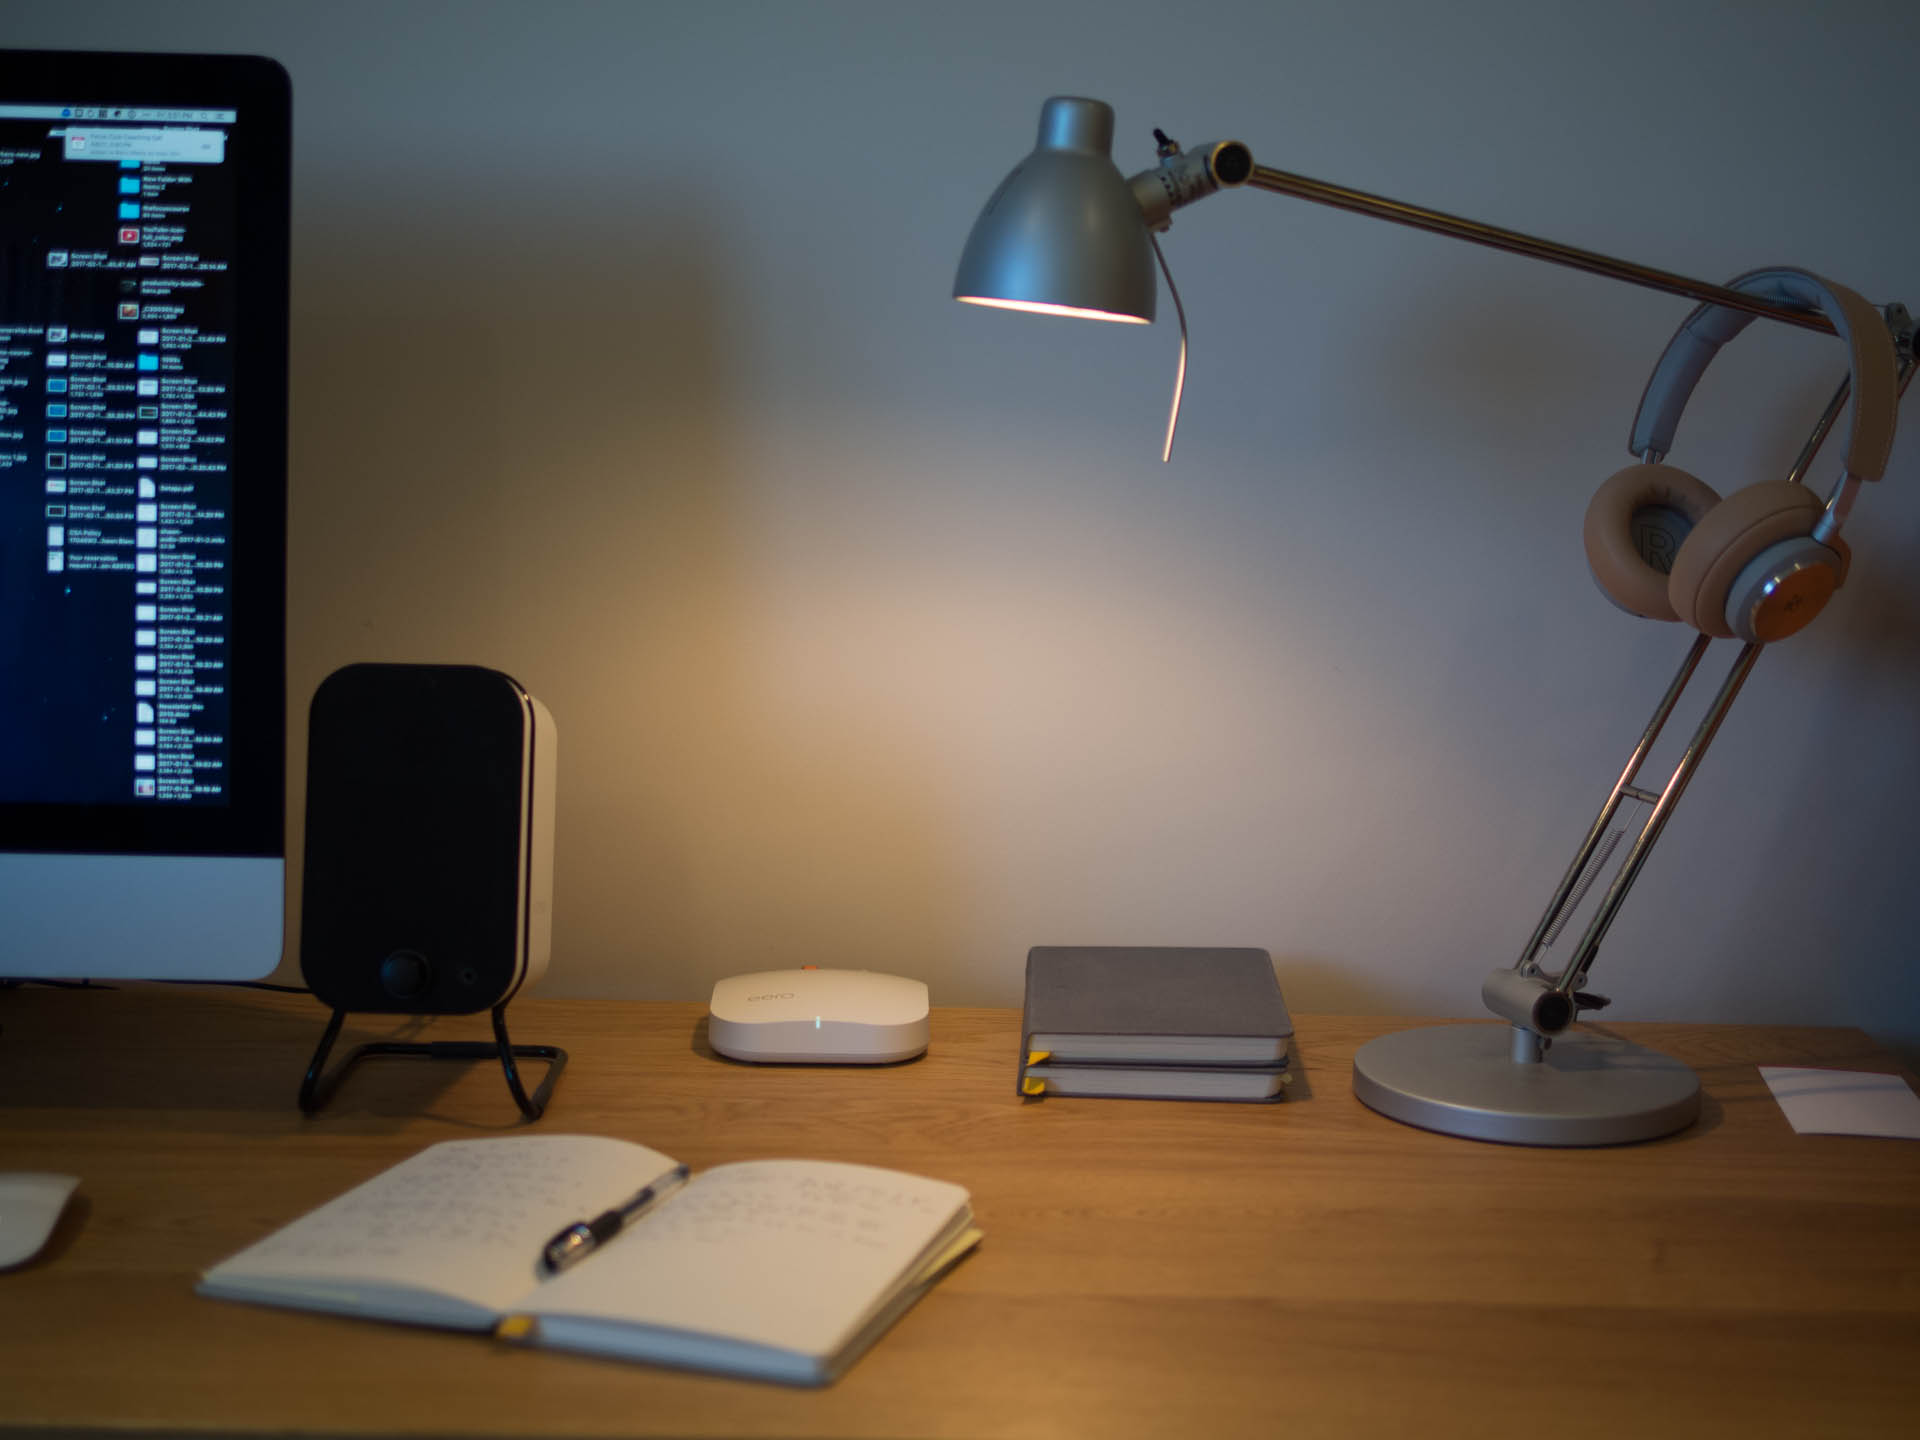
A set of eero pucks will set you back a pretty penny, but the speeds are probably worth it. But, with competitors like Google Wi-Fi, the cost might be too high for some people.
Despite being one of the most expensive products in its category, I think eero is worth it. You certainly get what you pay for: premium hardware that just works. And, the software that runs the eeros is constantly being upgraded.
But you can’t ignore eero’s biggest competition: Google Wi-Fi. Google’s 3-pack of routers offer the same results for about 30% less money. Of course, that’s assuming you can even find a Google Wi-Fi 3-pack (they’ve been on backorder for months).
Do I recommend eero? Absolutely; it’s amazing.
Is it worth the extra cost compared to some of the other options out there? Honestly, probably not.