The Midori Traveler’s Notebook is not for the faint of heart.
Perhaps that takes things to the extreme. It’s rare to find a tool that flies so directly in the face of all-encompassing digitalism and efficiency, especially one with such popularity.

The regular-sized Midori Traveler’s Notebook in brown. You can also get the Midori in a beautiful black leather and, the newest option, in olive.
The Midori Traveler’s Notebook is, by and large, a notebook. From a bigger scale though, the Traveler’s Notebook is a system of notebooks and accessories. The initial Traveler’s Notebook purchase comes with a thick piece of leather, two pieces of elastic, and a notebook. But head over to the Midori webpage and you’ll find dozens of accessories to customize the Traveler’s Notebook — refill notebooks, pocket stickers, card files, zip cases, pen loops, and paper folders can all be weaved into your unique piece of leather.
And like any analog tool these days, the worldwide community has fashioned after-market accessories as well. Need a weekly meal planning journal? A ledger refill? A map of Tokyo’s subway system? The Midori Traveler’s Notebook community is brimming with inspiration on ways to make your notebook your own.

The Midori Traveler’s Notebook is considerably larger than a Field Notes memo book or a Hobonichi Techo planner, but its “catch-all” mentality makes it one of my latest favorites.
I’ve fancied myself an analog die-hard of sorts. Over the last three or four years, I’ve written 95% of my daily notes in a Field Notes memo book and have logged every one of my day’s activities in a Hobonichi Techo. Both are formidable tools, capable of slowing down my day and allowing me to think, while also ushering in an aspect of whimsy or two.
But in a short period of time, the Midori Traveler’s Notebook has up-ended both the Hobonichi and handy Field Notes memo books. I expected the Midori’s size to be too large for my needs. I expected the Midori’s “all-in-one” attitude to be too direct for my needs. I expected the Midori paper to let me down. I even expected the Midori’s quality to come up short.
Yet, under each expectation, I’ve been caught by surprise.
Editor’s note: The Midori Traveler’s Notebook and accessories were sent free of charge for purposes of review by Waremakers. To be as fair as possible, I’ve expressed my thoughts with regard to how I acquired the items. And, for all intents and purposes, my wife purchased a Midori Traveler’s Notebook long before I received mine. So, take that for what it’s worth. — JG
How to Setup the Midori Traveler’s Notebook
Keeping in mind the Midori Traveler’s Notebook is a system of notebooks and rarely just a single notebook, there is some handy setup work involved.
Out of the box, the Midori comes with a single refill notebook with blank pages, a thick piece of sturdy leather, and a few elastics woven into the leather’s spine. One elastic wraps around the Midori to keep everything secured inside. The second elastic, strung into the leather’s spine, and a few extra rubber bands, are the keys to the Midori system.
One Notebook
When you open the Midori for the first time, you’ll see how a single refill notebook is secured inside. Simply open the refill notebook to its halfway point and slide it between the elastics strung into the leather.
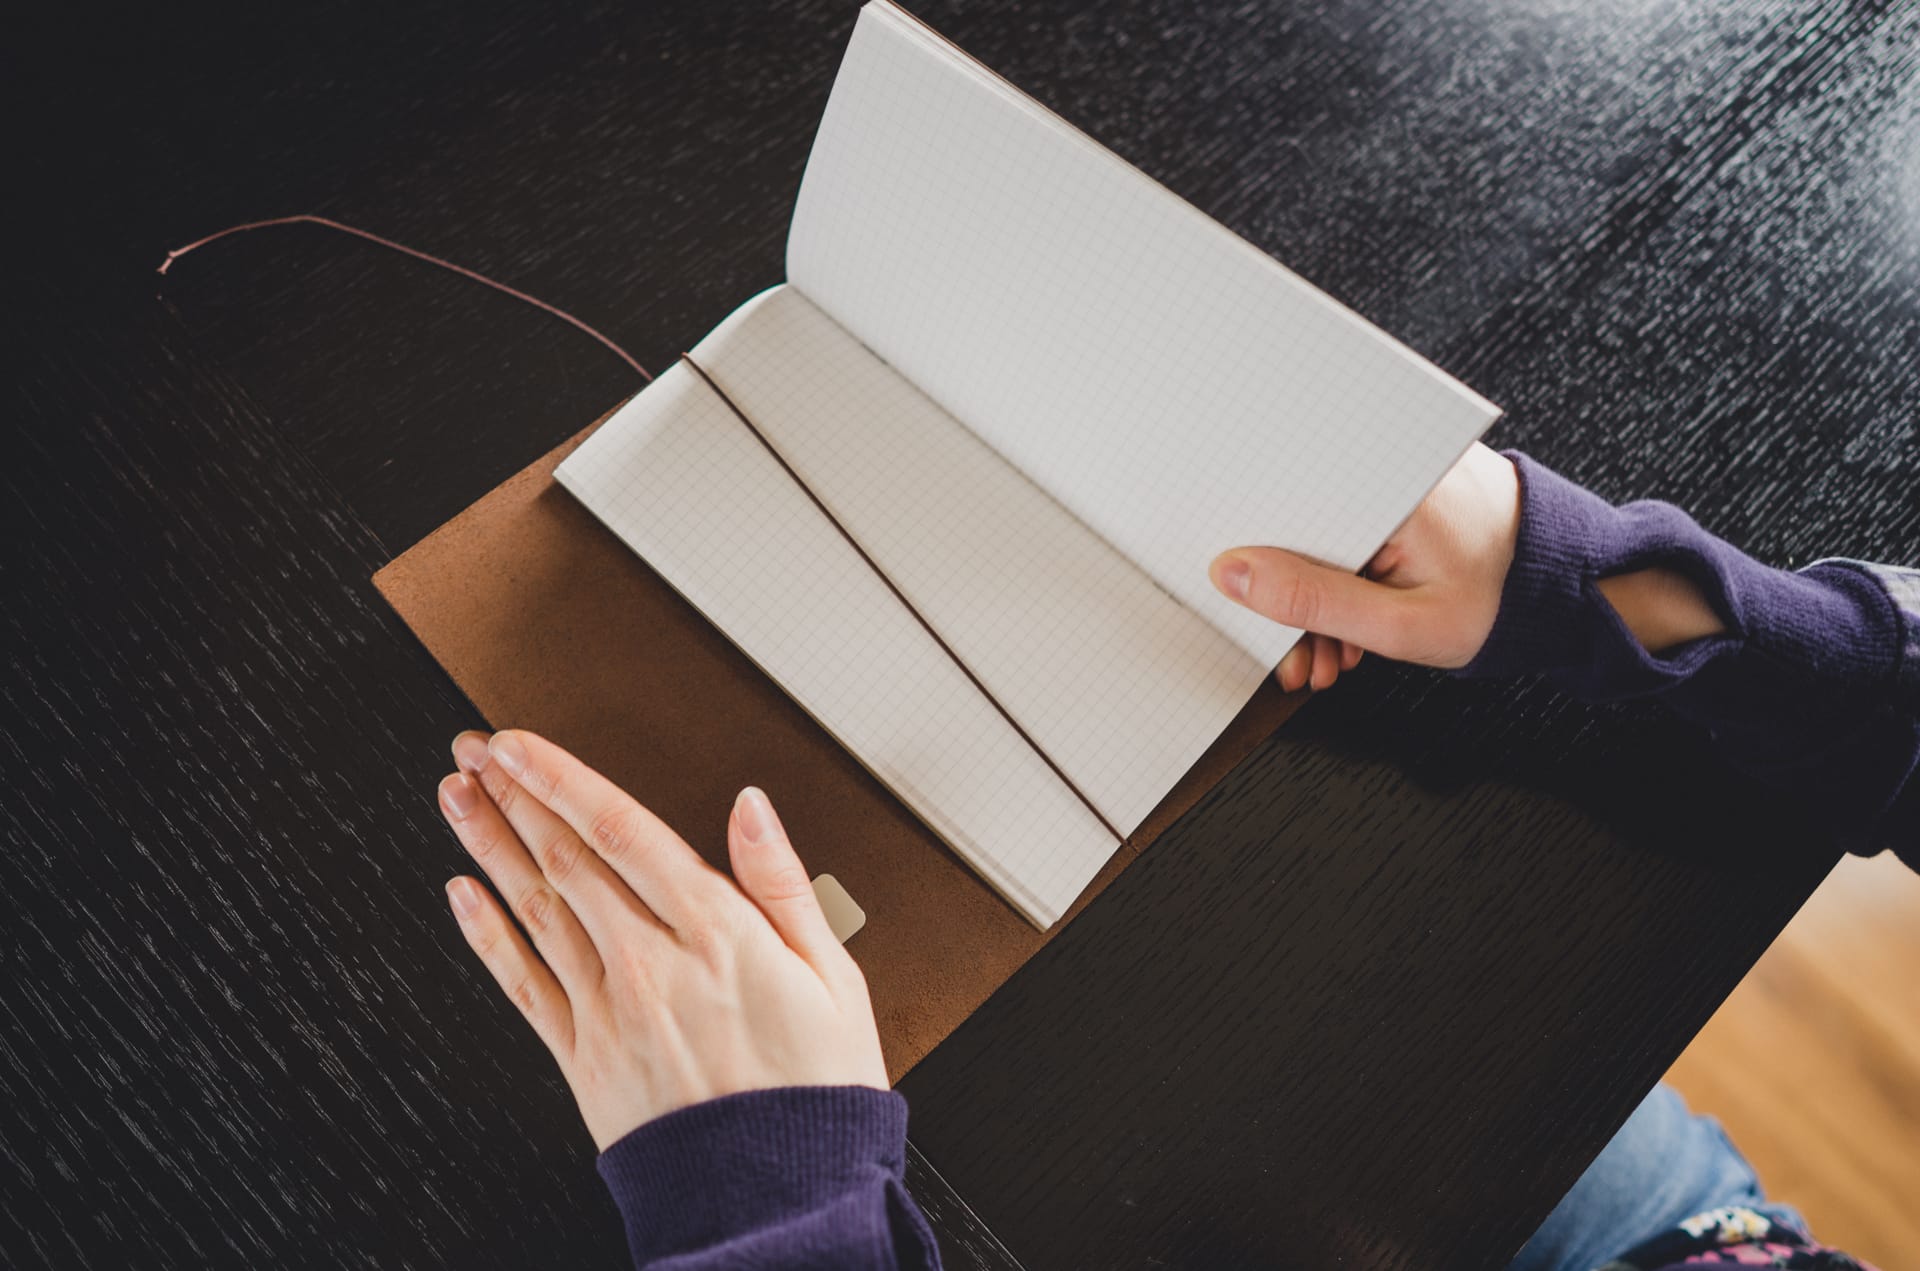
Setting up one notebook is simple. First, leave it exactly as is out of the box. But, if curiosity gets the best of you, simply slide half the book through the elastic.
If you purchased a Midori or received one as a gift and only intend on using the single refill notebook included out of the box, you have the easiest setup of all. For only one refill notebook, there’s no need for extra rubber bands or larger elastics.
Two Inserts
In reality though, the Midori is designed to have many refill notebooks and inserts, not just one.
Stringing in two inserts is a tad more cumbersome, but still straightforward. If you have two inserts, you’ll need a rubber band of some sort. Midori sells specially designed rubber bands which are the right size and strength to keep your inserts secured, but you don’t need to spend the hefty $9 if you don’t want to — any rubber band will do the trick.

For two inserts, first you need a rubber band. Second, take the rubber band and wrap it length-wise around half the insert.
First, take the rubber band and wrap it length-wise around half your insert of choice.


Lift the rubber band lined along the spine of the first insert and slide half the second insert through.
Second, grab your next insert and slide half the insert in between the rubber band and your first insert.

The result should be two inserts strapped together with a rubber band that runs down the middle of each insert.

If done correctly, you should have a mini “insert package” with two inserts connected at the spine by a rubber band.

Here, you can see the top side of how the rubber band connects the two inserts.

Lastly, slide the entire insert through the elastic and ensure the Midori’s elastic secures the inserts by the rubber band.
Once you have this packaged prepped, fold the inserts closed and slide one entire insert through the Midori’s elastics in the leather notebook. The elastic in the notebook will effectively hold the rubber band in place, which effectively keep your inserts from sliding around.
Three Inserts
Once we get past the three insert stage, you’ll start to notice a pattern in securing inserts inside the Midori Traveler’s Notebook.

From above, you can see the Midori’s elastic holds both inserts just by the rubber band connecting them.

For three inserts, we need to start where we left off with two inserts.
If you have three inserts — my particular Midori falls into this category — you need to begin after the two insert stage. So, just like with two inserts, string the first two inserts together with a rubber band and slide the entire package through the leather notebook’s elastics.

Once you have two inserts figured out, simply slide half the third insert through the elastic and you’ll be set.

A top view of the three-insert setup. As you can see, the elastic holds the middle insert in place, which in turn holds the rubber band in place which connects the other two inserts.
Next, open your now-secured two insert package to the middle where the leather notebook’s elastic secures the rubber band in place. Using your finger, lift that elastic and slide your third insert in place just like you did when you inserted only a single notebook at the very beginning. What you’re left with is a single elastic holding your middle insert in place at the spine, which secures your first and last insert in place with the rubber band.
This is particularly difficult to explain in words, so hopefully the photos help showcase the process.
And So On…
Want four, five, six inserts? Well, the Midori can handle that as well. Just continue the pattern.
- Four inserts will involve creating two “two-insert packages” with a rubber band and then sliding both packages underneath the elastic.
- Five inserts will involve creating two “two-insert packages” with a rubber band, sliding both packages underneath the elastic, and then sliding your fifth insert in the middle underneath the elastic.
- Six inserts will involve creating three “two-insert packages”
And so on…
The more inserts you add, the handier your Midori will become. However, the leather notebook isn’t designed to hold an endless number of inserts. Eventually, you’ll notice the inserts begin to stick out the edge and will begin to be torn and crunched by the wrap-around elastic as time goes by.

After awhile, you can see the Midori will start to start to push its limits.
Further, that wrap-around elastic can only stretch so far. You can purchase a repair kit for a few dollars that comes with colorful elastics you can cut and make larger than the out-of-the-box wrap-around elastic, allowing your Midori to stretch a little further. You may want to get the repair kit just to change the elastic color inside your Midori and give your Midori a particular dash of spice.
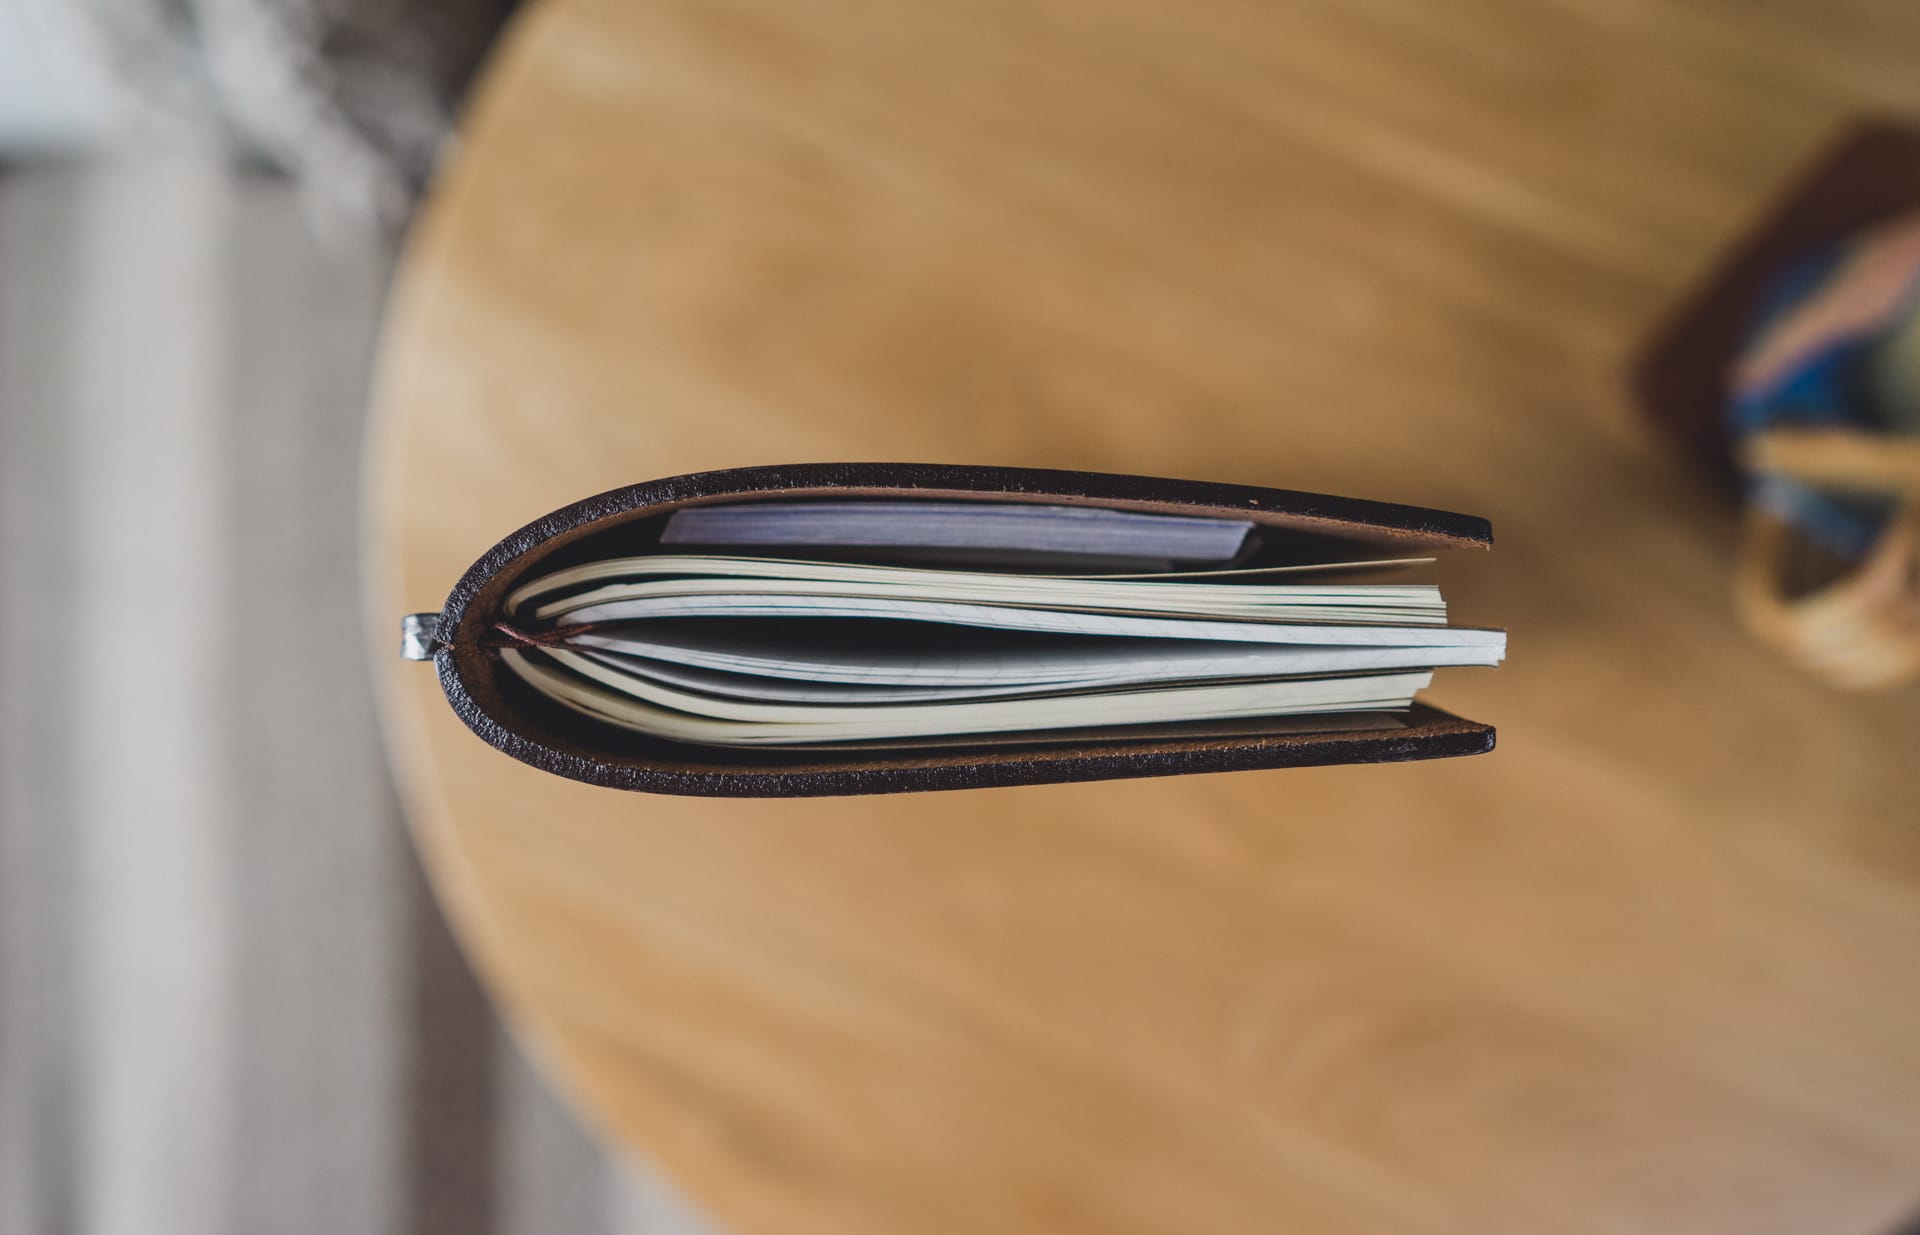
Even with three inserts, you can see the middle insert start to hover nearly beyond the limits of the leather. This isn’t the end of the world, but you may tend to have some odd wear on the middle insert.
But in short, you can see the sky is the limit with the Midori Traveler’s Notebook system. You can add inserts (almost) to your heart’s content and carry all your analog notebooks and tools in one spiffy package.
Construction
Now that your Midori has been created, you’ll finally have a chance to admire the sheer quality of the leather, paper, and elastics you have in your hand.
Leather
Midori’s leather is second to none (I feel like I’m saying that with every new review of a leather product).
But seriously. Second. To. None.

There may not be a more beautiful leather product in the world. Even after two weeks, the Midori Traveler’s Notebook takes on a character of its own.
When you unwrap the leather notebook from the canvas packaging, the first thing you’ll notice is the leather’s smell. Of course, it’s that quintessential leather smell, but the smell is strong and lasts much longer than other leather goods I’ve purchased.
The leather’s edges are burnished and straight-cut, ensuring there’s no fraying or tearing down the road.

Inside, the texture of the leather is slightly different.
The inside of the leather is slightly softer than the outside — the interior leather feels unfinished, while the outside appears to have some sort of finishing or sealant applied. It’s not like the leather is waterproof or anything, but there’s a difference in the texture of the inside and outside leather surfaces.

Like any good leather product, the Midori Traveler’s Notebook only looks better over time. My wife’s Midori Traveler’s Notebook is a little older than mine, and the accumulated bumps and bruises give it a new level of character.
The Midori’s leather quality speaks for itself. Pick up the notebook and you’ll immediately notice the supple texture and heft to the leather, and your nose will surely pick up a scent of quality and luxury. Carry the notebook with you and you’re sure to notice not only the leather’s durability, but also the leather’s ever-growing character. I’ve put my hands on many different leather products over the last few years, and nothing matches the Midori’s leather exterior.
Elastics
It’s hard to comment on the quality of the Midori’s elastics. In short, they’re elastic, stretchy, and durable enough to handle anything I’ve stuffed in so far.
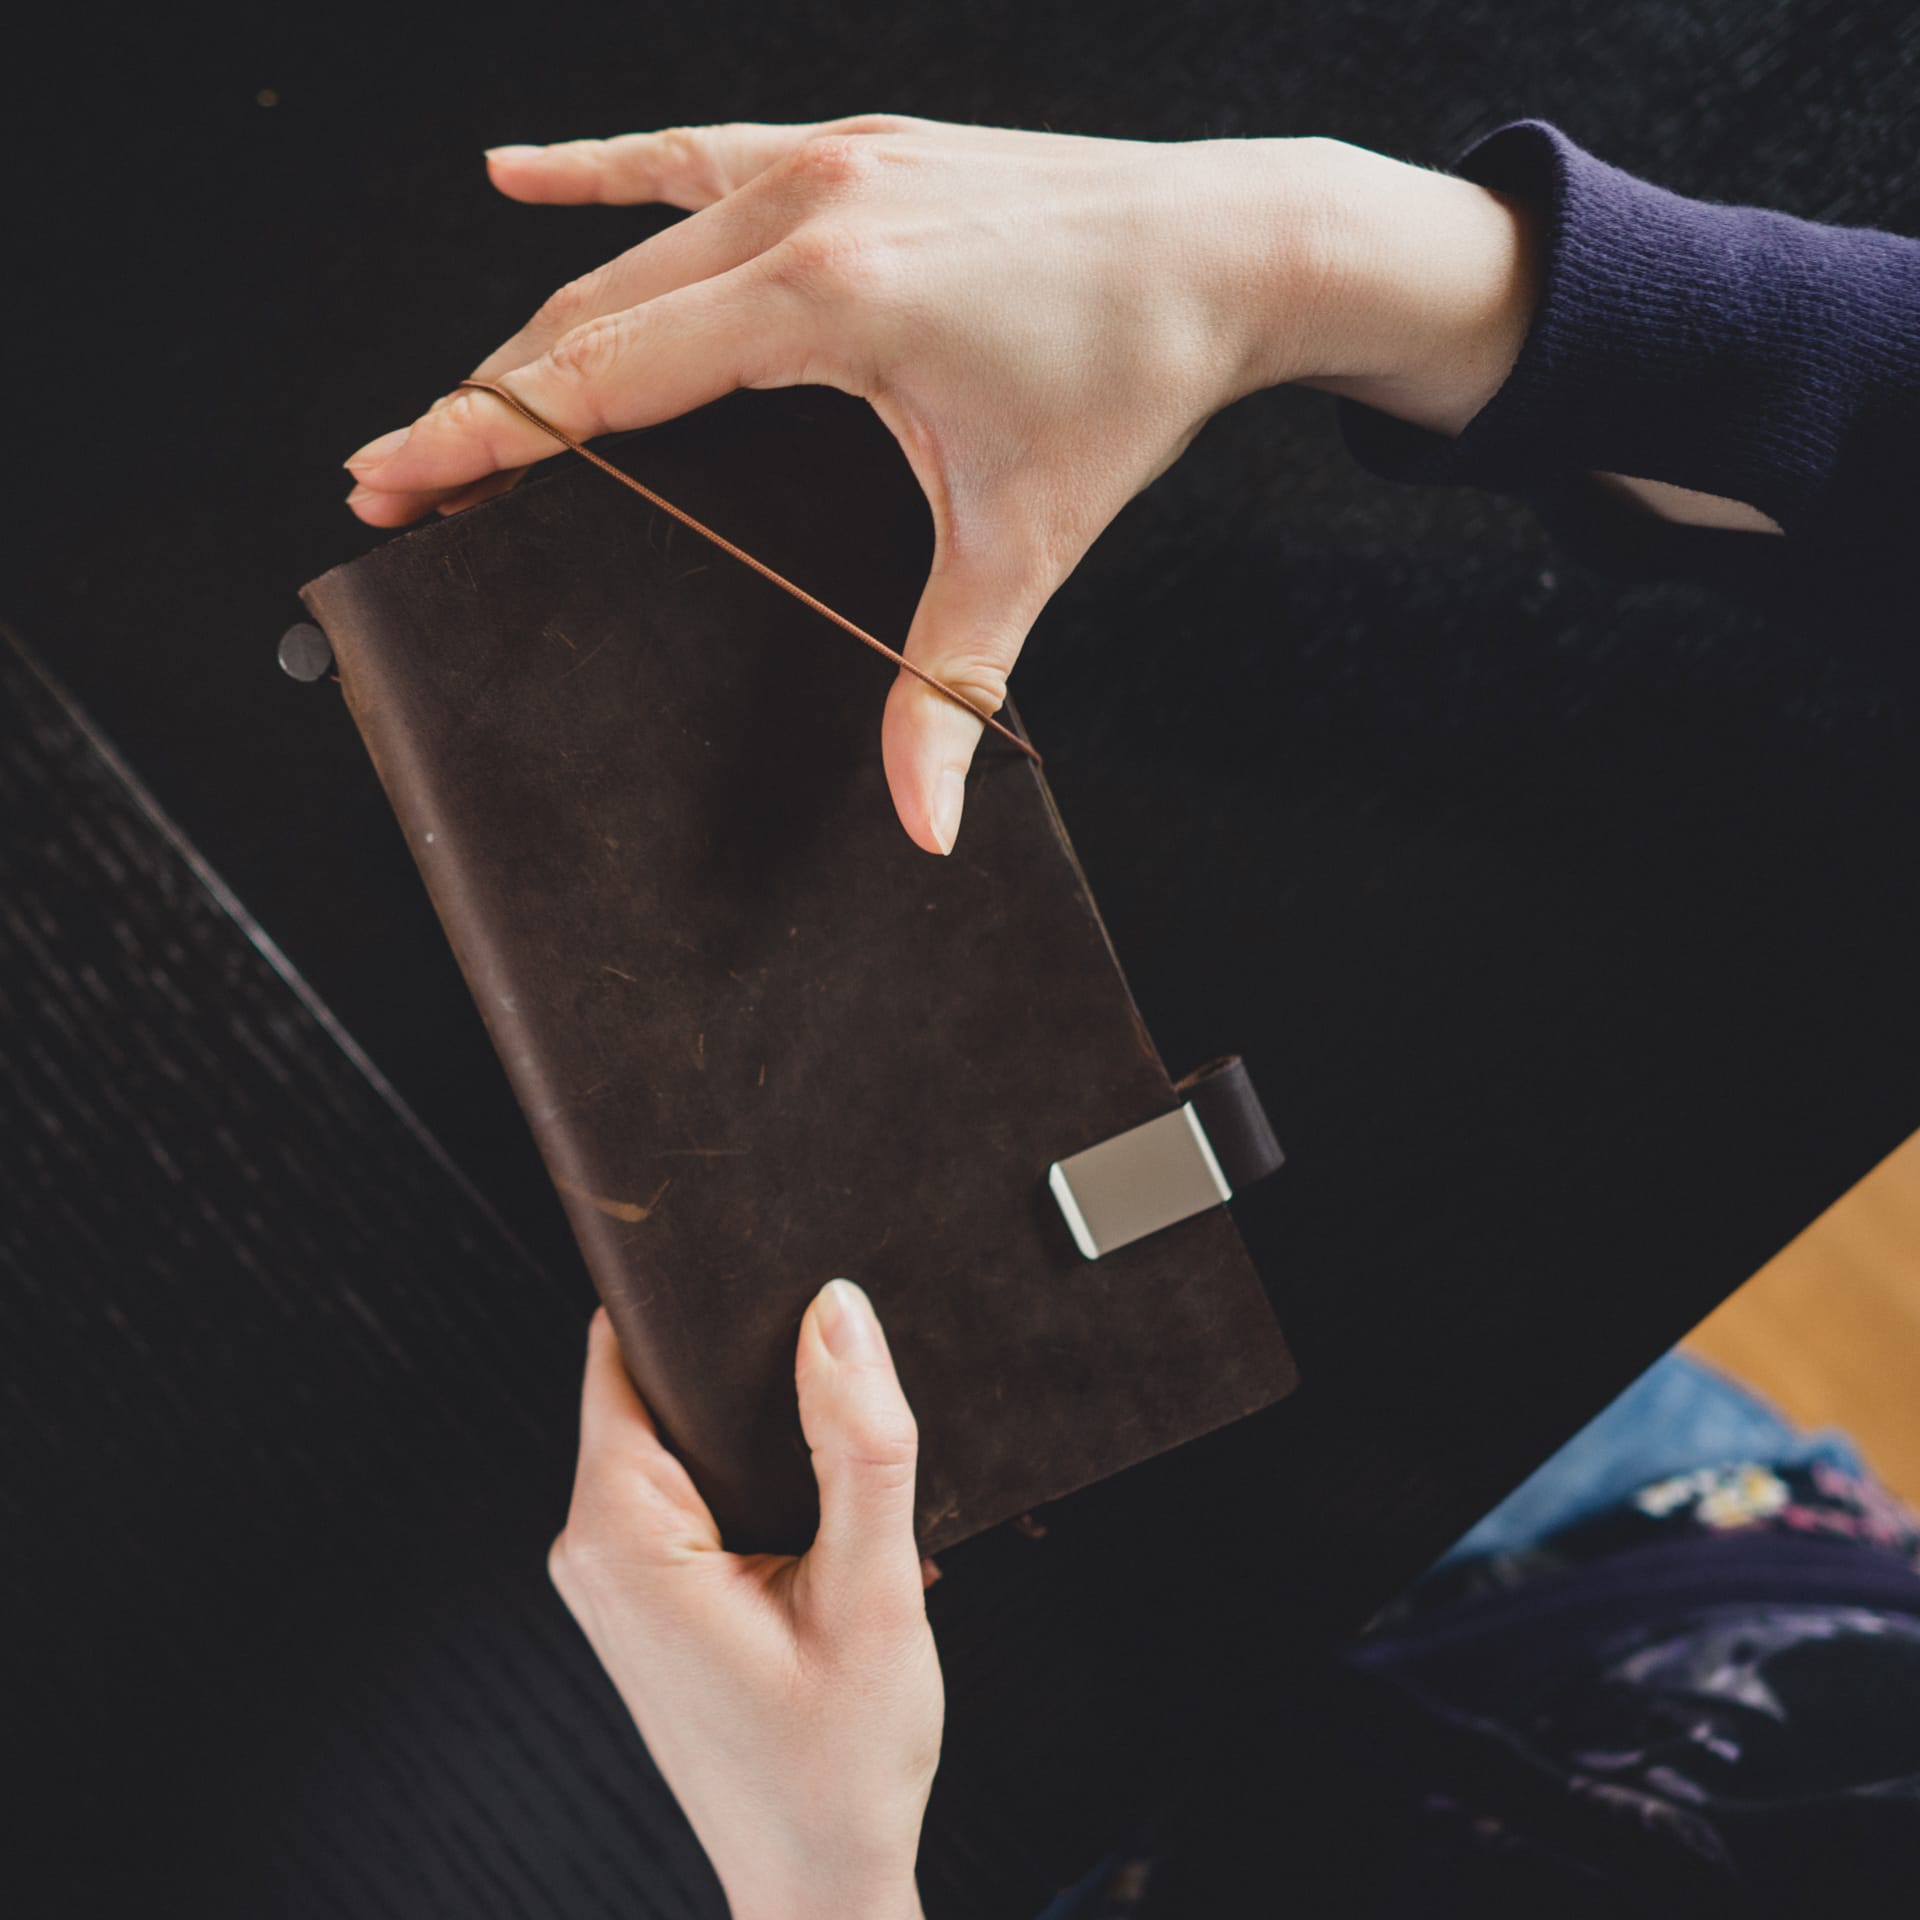
The fact a repair kit is available to purchase implies these elastics could give out at any moment. So far, though, so good.
What excites me most about Midori’s elastics are their genericness. By that, I mean to say I appreciate the Traveler’s Company willingness to allow Midori users to fix their Traveler’s Notebooks on their own. If you purchase the repair kit (I recommend the repair kit — it comes with different colored elastics and ensures your Midori won’t be out of commission for too long) there are instructions on how to open up the metal cylinder on the leather’s spine and how to re-string the notebook using a hammer and fine pliers. More and more these days, we find products with proprietary apparatuses that ensure you dishing out a few nickels and dimes to repair the product if something goes wrong. Although the repair kit does cost a few dollars, it’s nice to see you don’t have to ship the notebook in for fixing.
There’s also an additional orange wrap-around elastic that comes in the Midori’s original purchase, allowing you to add extra flair to your Midori right off the bat.
Notebooks
I was prepared to be let down by Midori’s notebooks. I expected Midori’s paper to come up short next to the Tomoe River paper found in the Hobonichi Techo, and I certainly never expected the paper to hold up to heavy fountain pens.

Alas, fountain pens are no match for Midori’s paper, and Hobonichi’s Tomoe River paper is given a good run for its money from its Midori competition. Tomoe River paper is extremely thin and light, but somehow manages to absorb ink better than any other paper found on planet earth. Midori’s paper could be a close second — the paper is thin and lightweight, but still manages to keep fountain pens from bleeding through to the next page. Like Tomoe River paper, Midori’s paper has some significant ghosting (you can easily see what you wrote on the prior page), but it’s handled as well as you’d like.

Each “free” diary (be it weekly, monthly, or daily) has this handy placeholder in the corner.
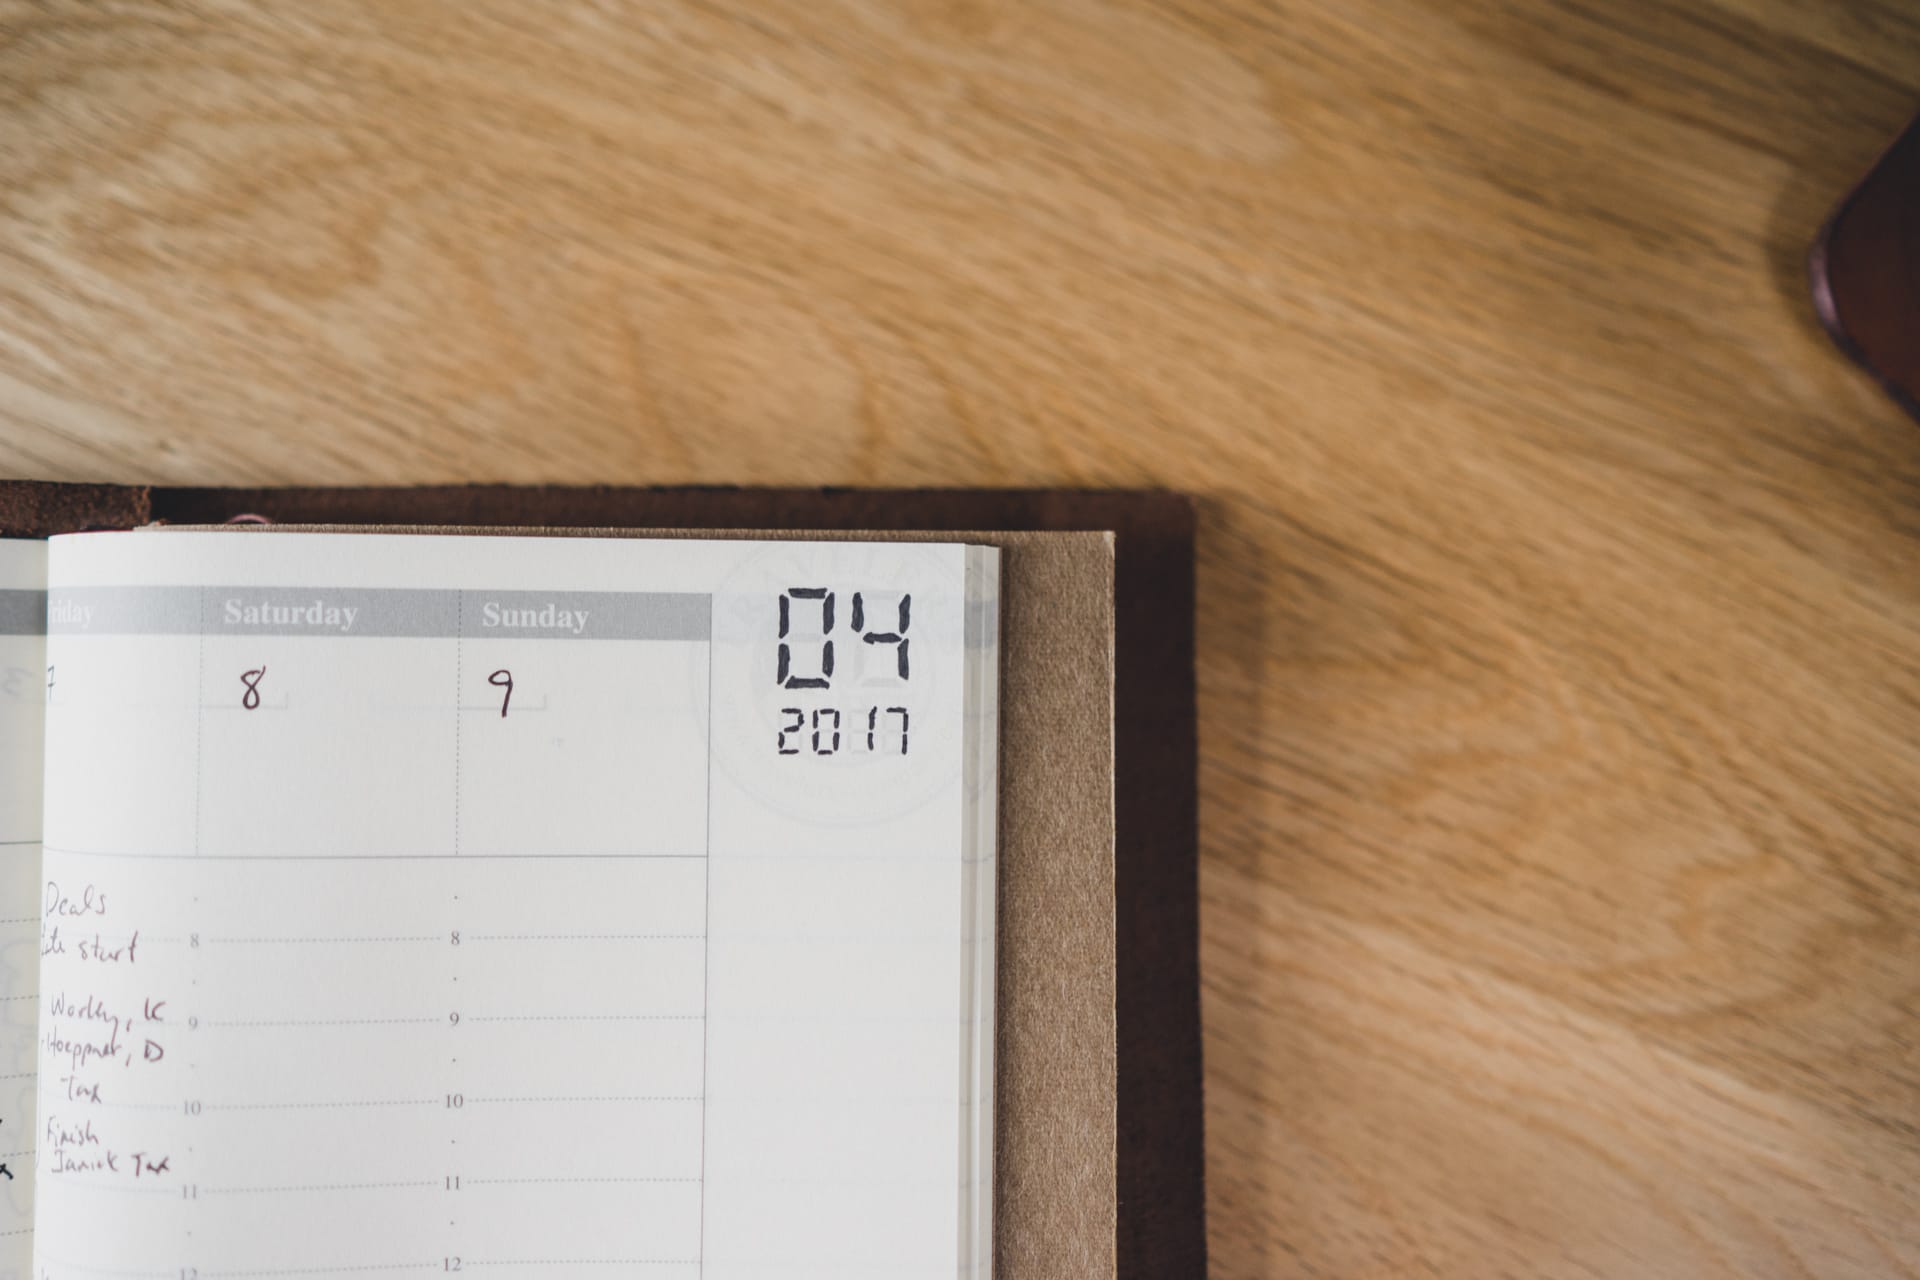
Simply fill in the month and the year in the placeholder and not only will your books look more awesome, they’ll also be more organized.
The only area where Midori’s paper falls short of Tomoe River is in the bleeding of written ink. When you make a pen stroke, you’ll notice your ink slightly bleed beyond your pen stroke as the ink is absorbed by the paper’s fibers. Tomoe River paper is extraordinarily good at ensuring your ink doesn’t bleed beyond your pen stroke. However, Tomoe River paper takes notoriously long to dry, especially when the ink is laid on heavy. Midori’s paper trades some drying time for some slight bleeding, and I don’t mind the compromise.
The rest of the notebooks are fairly straightforward. The kraft refill notebooks can be bought in a grid, line, or blank format, and all have a heavier stock front and back cover. You can purchase daily, weekly, and monthly diary refills which have a slightly heavier stock for the front and back covers. All the covers hold up well inside the Midori’s leather cover.

The free weekly calendar doesn’t have any dates pre-printed, so you can start and stop at any date you wish.
You can purchase “free” daily, weekly, and monthly diary refills, which are diaries that don’t begin or end on a specific date (unfortunately not free of charge). You can fill in the dates, months, and years in the “free” diaries to your own liking, allowing you to start a “free” diary at any point in the year and use all the pages inside the notebook. For a higher price, you can purchase pre-printed daily, weekly, and monthly calendars and diaries which begin on January 1, 2017 and end on December 31, 2017, but I prefer the “free” diaries due to the lower cost per refill and the fact I can begin and end on any date.
Inserts
Aside from notebook refills, you can also purchase handy inserts like zipper cases, card files, pocket stickers, and file folders for your Midori. They are inserted just like refill notebooks and help you carry different types of doodads inside your notebook.

If I could have any insert right now, I’d get the kraft file folder. It keeps my wife’s Midori much tidier.
Kraft File Folder: My wife has the kraft file folder inside her Midori and it’s an insert I need to add to mine. It’s made of a heavier card stock and allows you to carry folded papers and cards.
Zipper Case: Another insert I’d like to purchase, the zipper case has a zipper along the long edge and can be packed with pens, receipts, stickers, or whatever other items you’d like to carry in your Midori.
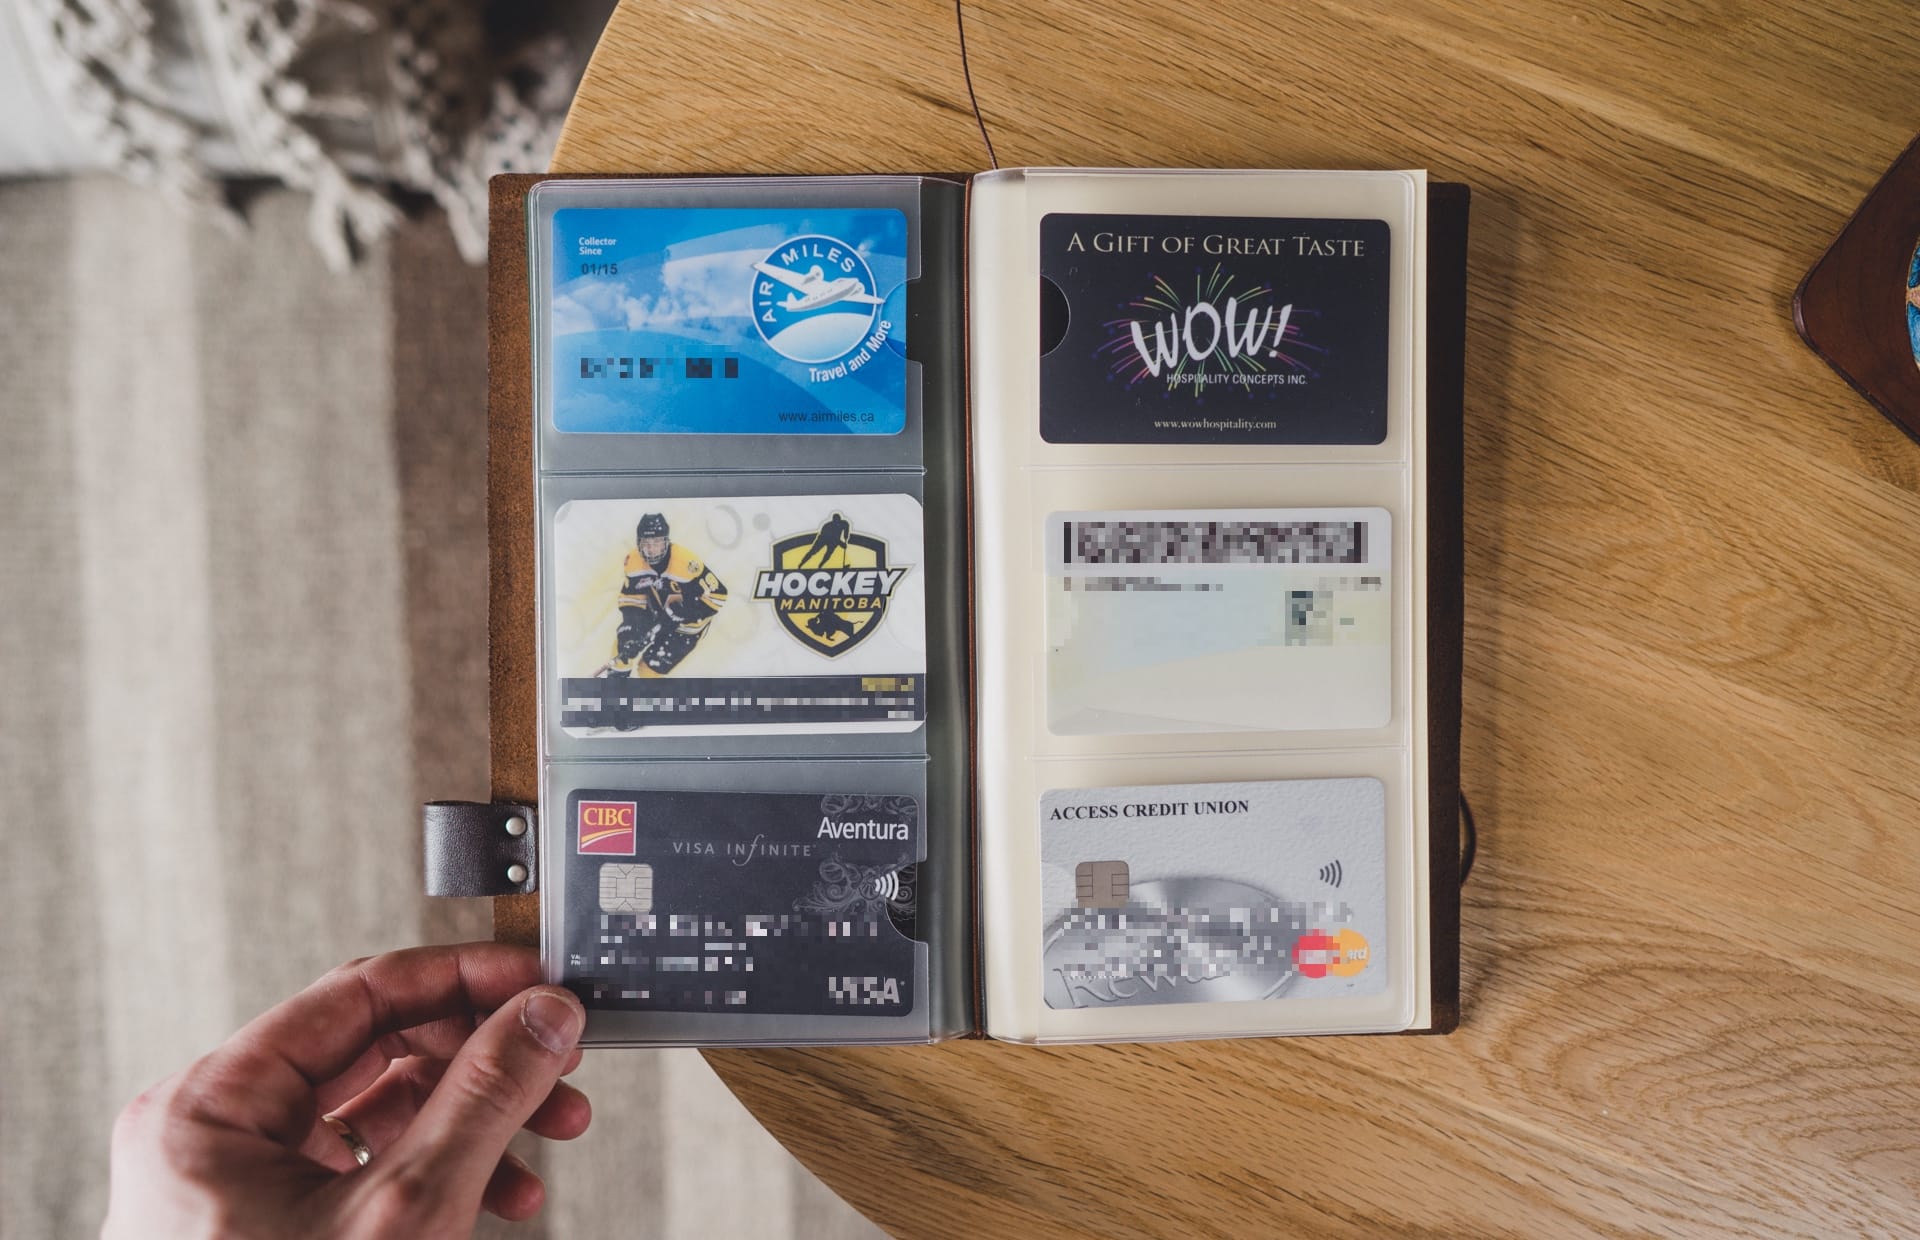
If you plan to use your Midori as a wallet, the card file will come in very handy. For me right now, it’s next to useless.
Card File: The card file is perfect for carrying business cards or credit and debit cards should you choose to use your Midori as a wallet. The card file’s plastic is fairly heavy and feels like a higher quality version of those card files you used to get in a generic wallet.
Pocket Stickers: There are a few formats of the pocket stickers, but they are simply stickers that can be stuck to the inside of a different refill and can carry cards or other small papers.
These inserts are responsible for making the Midori less of a notebook and more of a system. They can be added easily and can carry anything you may need on a daily basis. Although I only have notebooks in my Midori at this point in time, a zipper case and file folder are in my shopping cart as we speak.

The pen loop is a very handy accessory, but it’s disappointingly small.
A quick note about the pen loop: I also received a Midori pen holder that can be attached to the front or back cover. The pen loops come in two different sizes — small and large — and give you a place to keep a pen handy for quick notes. Even though I have the large pen loop, I’ve found the loop to be surprisingly small. The large pen holder can hold pens with a diameter up to 12mm, which quickly eliminates a Pilot Vanishing Point or Lamy 2000 fountain pen. I’ve found smaller gel pens like the Uni-Ball Signo to fit up to the rubber grip, and then I secure the rest of the pen to the Midori by using the wrap-around elastic. I think Midori could stand to make a larger pen loop for larger fountain pens.
Format
Admittedly, the regular sized Midori Traveler’s Notebook is an odd format and shape. It’s narrower and longer than a standard A5 notebook, meaning generic A5 inserts won’t properly fit inside the Midori. This proprietary size flies in the face of the repair thoughts I mentioned above, but works out positively in everyday use.
Editor’s note: The Midori Traveler’s Notebook also comes in a passport-sized format.
- The longer and narrower format is very easy to carry. It may not fit in a back pocket, but it easily slides into any messenger bag or briefcase, and is particularly easy to carry in hand.
- The narrower format is extraordinarily good for writing. I have always put dozens of lists into my memo books, and this format seems built for list making.
- The Midori is named the “Traveler’s Notebook” for a reason; the lengthier format allows for better storage of tickets, train passes, and boarding passes. Maps also fold into this format, so storing a map inside the Midori is entirely feasible.
- This format is perfect for carrying A4 sized letters folded into thirds. If you receive a letter or a document in the mail, it’s likely to be folded in this format. Using the Midori as a sort of document transportation device between home and the office has become one of its main features for my workflow.
I won’t be the only person who says the format initially turned me off. I expected the long and narrow format to be cumbersome and non-conducive to keeping notes and calendars. In the end, the format is probably my favorite aspect of the regular-sized Midori Traveler’s Notebook.
A Few Ways to Use the Midori Traveler’s Notebook
There is likely an infinite number of ways the Midori Traveler’s Notebook could be implemented in someone’s life. Its obvious use is for journaling, calendaring, and note-taking.
But it doesn’t end there. Here are a few ways my wife and I use our Midori Traveler’s Notebooks.
As a Medical Professional
My wife is a Registered Dietitian and uses the Midori Traveler’s Notebook as her daily work book. She has a blank refill notebook, a free weekly diary, and a kraft file folder in her Midori, and she carries a calculator strapped to her Midori at all times.

As a medical professional, my wife uses her Midori for a wide range of activities. The most important tool though — her calculator — is strapped right to the front of her Midori at all times.

The weekly calendar is good for planning or tracking — a prospective journal, if you will, or a historical journal. Whichever way you look at it, it’s an extremely handy refill.
Weekly Diary: If she has to do some follow up with a patient, generally that follow up is due within 7 to 14 days. She quickly jots down follow up due dates in her weekly diary, along with any other major work deadlines.

For artists, or even the free spirits, the blank refill is good for a wide range of tasks.
Blank Refill: She jots down to-do lists each work day and patient notes during consultations inside the blank refill notebook. My wife noted she would prefer a daily diary for her to-do lists so she could keep her patient notes inside a dedicated notebook.
Kraft File Folder: My wife keeps diet recommendation cards in her file folder, which are filled out during consultations and need to be given to the kitchen for implementation.
Want — Zipper Case: Dietitians use quick calculations throughout the day, so my wife also keeps a small calculator wrapped to the front of the Midori. She noted she would like a zipper case added to her Midori to store the calculator along with extra pens in case she misplaces one during the day.
As a Financial Professional
Inside my Midori, I have a free weekly diary, a grid refill notebook, and a free monthly calendar.
Weekly Diary: I log each day’s activities inside the weekly diary. The weekly diary takes the place of my Hobonichi Techo before it and keeps approximate track of which files I work on during the day at the office.

The grid refill is a fairly standard refill these days — perfect for graphs, small drawings, and note-taking.
Grid Refill: This is my general, catch-all notebook for thoughts, lists, and general calculations throughout the day.


The free monthly calendar is situated at the back of my Midori and houses all my plans and events in the future.
Monthly Calendar: My monthly calendar keeps track of appointments and deadlines for the future. Plain and simple.

Right now, I keep loose A4 tai-folded papers in the back of my Midori, along with a few cheque books for a few organizations I volunteer for. For these purposes, I could really use a kraft file folder or a zipper case.
Want — Kraft File Folder: I use my Midori for transporting folded A4 letters and for carrying cheque books, receipts, and other financial documentation. A kraft file folder would do wonders for keeping all these pieces of paper organized inside my Midori.
This is a fairly generic way to use the Midori, but it showcases how much further a Midori Traveler’s Notebook can go beyond a smaller Field Notes memo book.
As a Traveler
It’s written right in the name, so it can be fun to dream about how I would incorporate a Midori Traveler’s Notebook into a month-long trip.

The Midori Traveler’s Notebook really is the perfect traveler’s notebook. You can customize it to fit any travel need, and its combination of durability and usability station right at the top of my next travel carry list.
- Use the Midori as a wallet with the card file — store debit or credit cards in the card file along with a driver’s license and business cards.
- Cash could be kept in a kraft file folder or a zipper case.
- Boarding passes and train tickets could be inserted directly on their own, or they could be put in a file folder.
- Travel itineraries could be kept in a free weekly diary.
- A broader, macro look at your travel itinerary could be kept in the monthly calendar.
- Free daily diaries could keep your thoughts and journal entries organized for each day of your trip.
- Double-sided tape could paste instant photos or other small travel memorabilia in your daily diary throughout the trip.
Evidently, the list of uses for the Midori Traveler’s Notebook is endless. The potential of the system is only limited by your ability to convert your life into an analog format, and by the physical limitations of the leather cover.
Conclusion
I would have never guessed I could write 3,300 words about a new notebook system.

I would have never expected both my wife and I to use the exact same tool on a daily basis, but it’s a neat commonality. That said, she has a few inserts I want to steal.
But from the start, the Midori Traveler’s Notebook has surprised me. It’s more comfortable for writing and taking notes than smaller 3.5-inch by 5.5-inch memo books, and it beats carrying a second calendar for logging my daily activities. Although the notebooks are proprietarily sized, you can buy an endless amount of “free” notebooks and never have to worry about needing to change your habits or your system. Plus, the Midori can evolve as your needs evolve.
I admit, the thought of not finishing off an annual Hobonichi Techo gave me some butterflies. I also have a stack of unused Field Notes staring me down from the shelf in the corner of my office. These types of things have given me pause in the past, encouraging me to stick it out and ignore the allure of the Midori Traveler’s Notebook.
But now that I have a Midori and have customized it to fit my analog needs, I’ve been surprised more times than I can count. If I need something, it’s probably in my Midori. If I need to write something down, I can write it down in my Midori. If I need to remind myself about a due date, it’ll be on a list in my Midori.
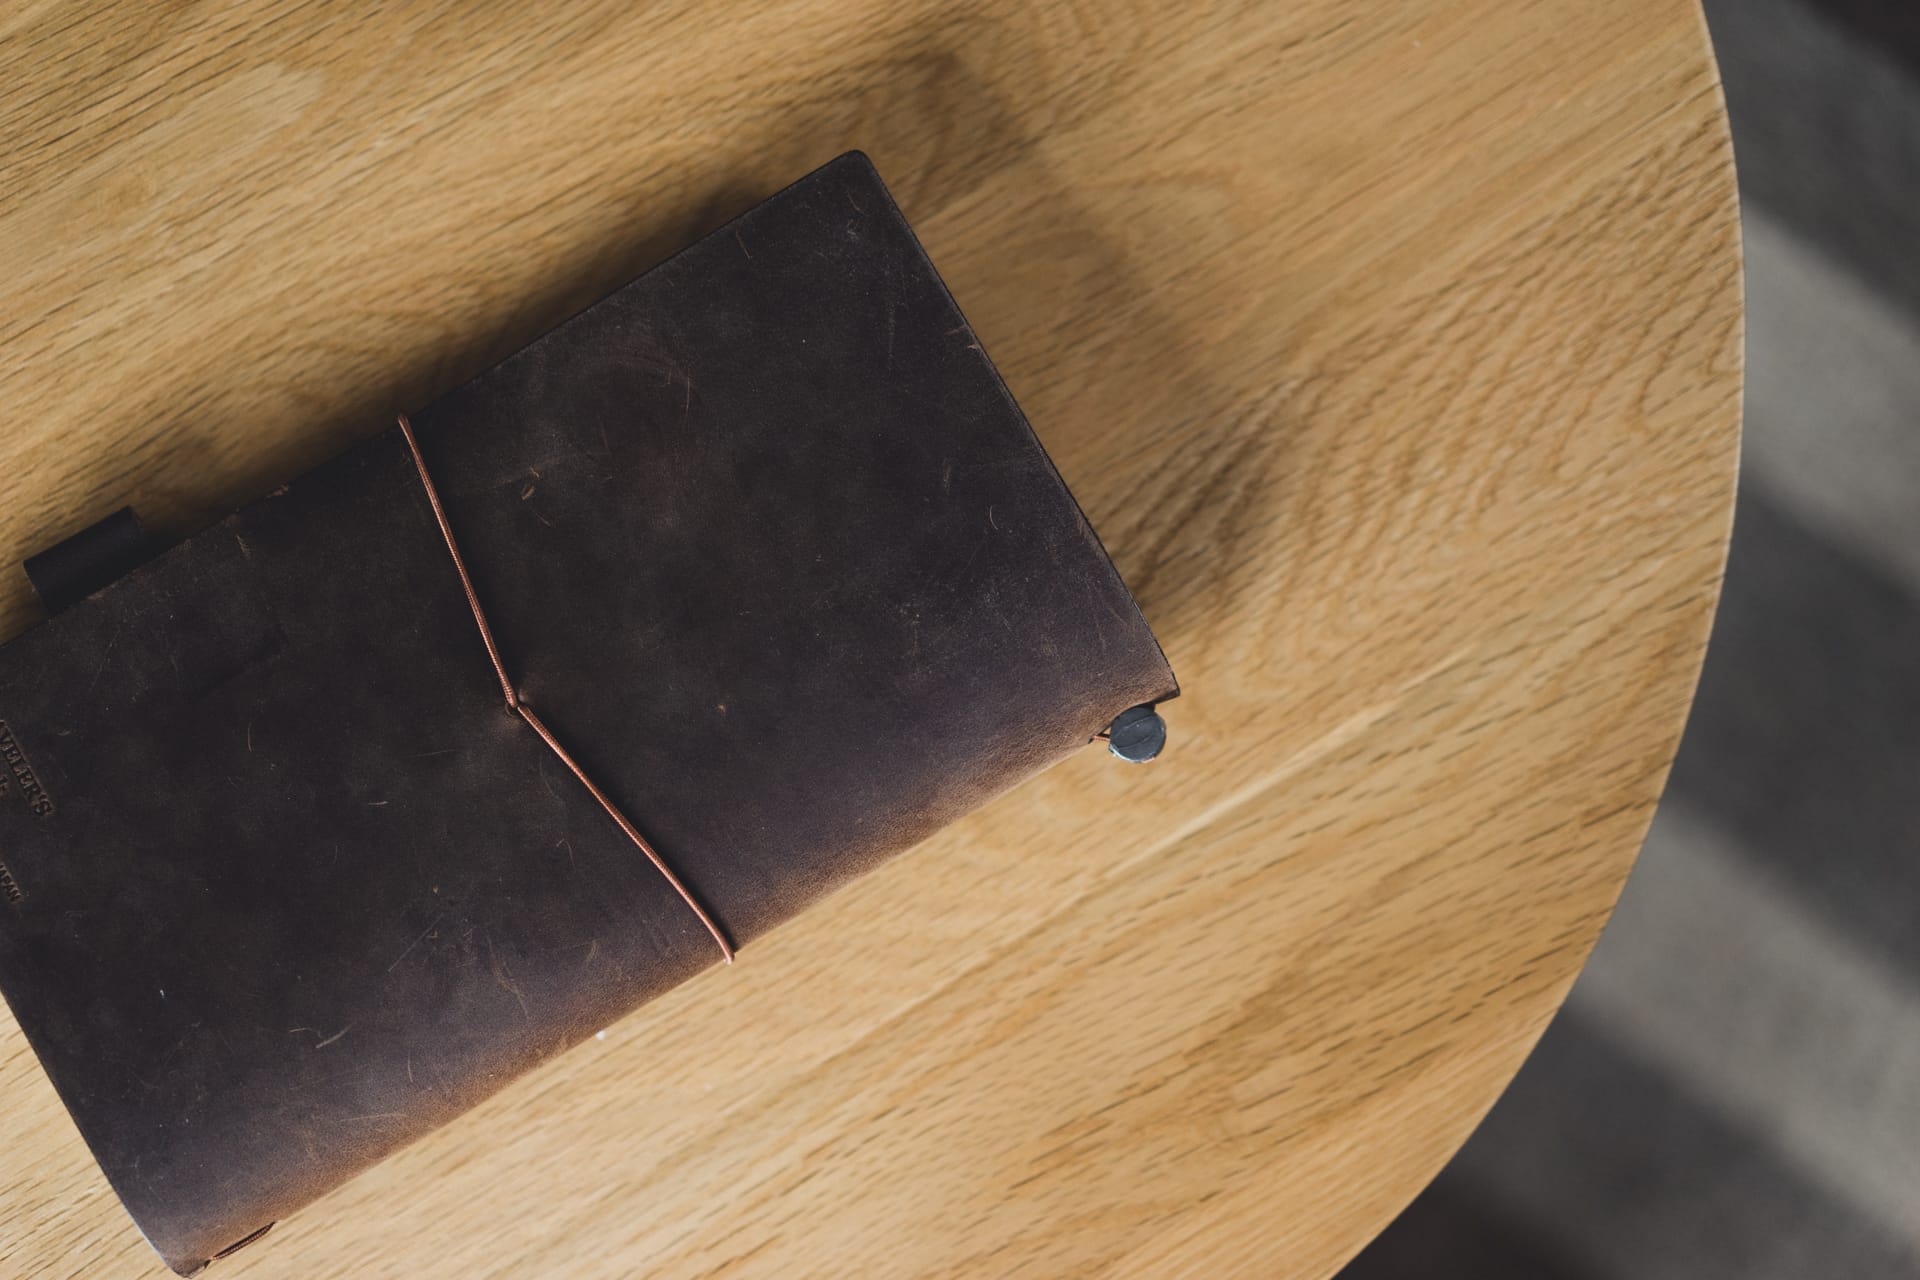
Over a few short weeks, the Midori Traveler’s Notebook has up-ended my Hobonichi Techo and Field Notes memo books. I honestly thought I’d never see the day.
It doesn’t hurt that I’ve received a few comments from passersby regarding the unique leather cover and generically-styled refill notebooks.
Barring Midori selling out and not producing more refills, I foresee the Midori Traveler’s Notebook being my go-to analog device for a long time. Maybe forever.
Josh of a few weeks ago would have been tossing and turning over such a thought.
Thanks again to Waremakers for sending over the Midori Traveler’s Notebook for review.